

Georeferenced Point Clouds
From georeferenced to local Revit coordinates
Point Clouds. From georeferenced to local Revit coordinates
Objectives
- Learn to transform georeferenced point clouds to the local coordinate system of our Revit project.
- Avoid Revit’s trouble with large real world coordinates.
Prerequisites
- User has access to the following software:
- Autodesk ReCap. Download a trial version here.
- CloudCompare, to process the point clouds.
- Autodesk Revit 2020 or above
- The user has a georeferenced point cloud and a Revit project with shared coordinates aligned. Download the practice files here.
Description
Revit point cloud render engine has trouble dealing with large real world coordinates usually found in UTM georeferenced files. The transformation of these large numbers renders point disaplaced and other weird side effects.
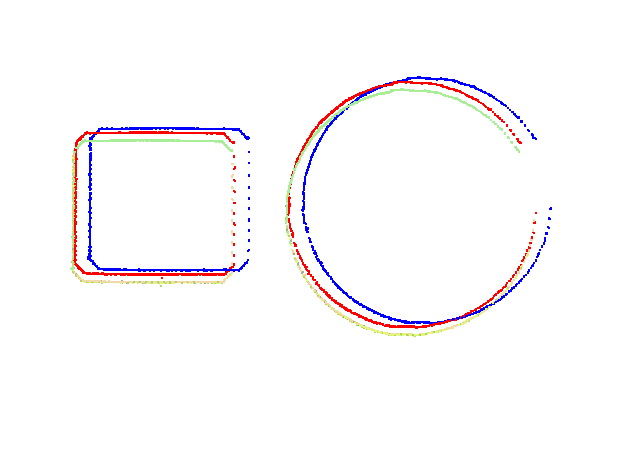
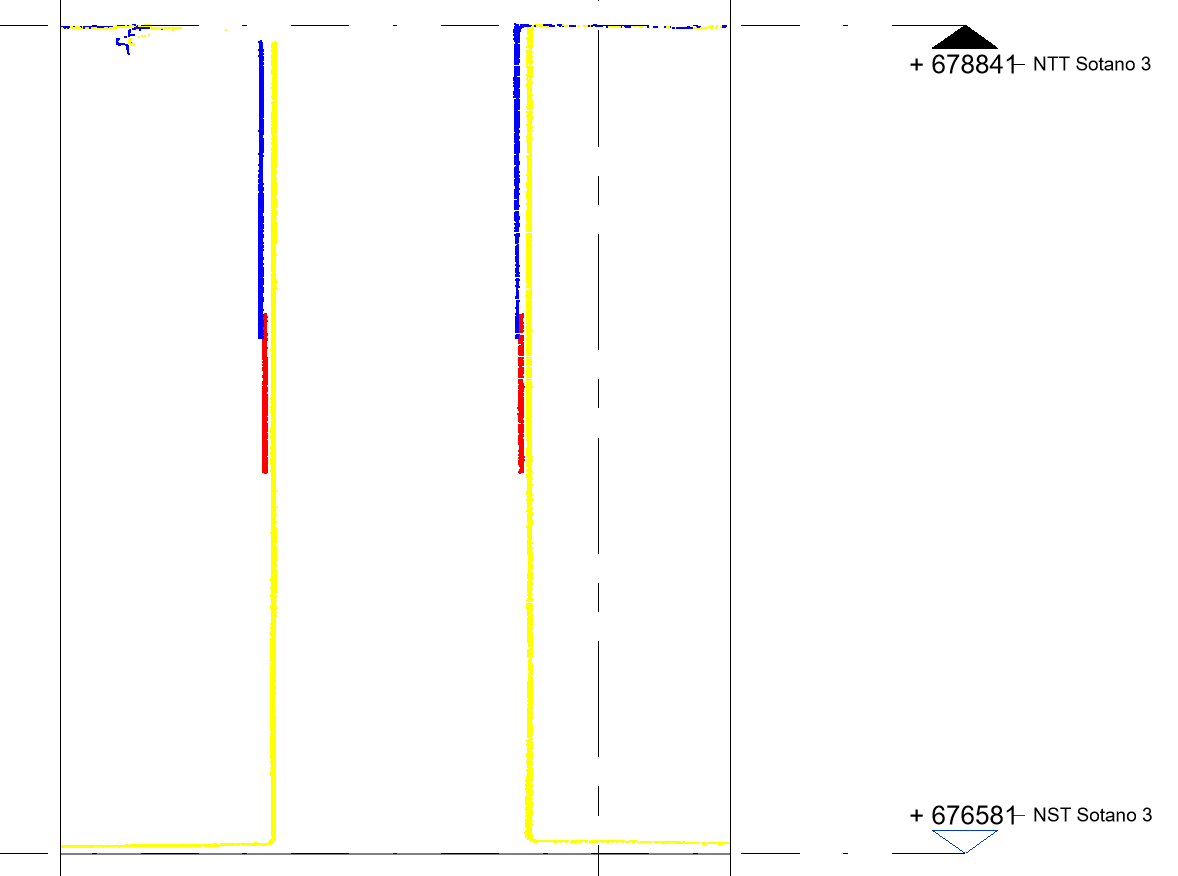
This guide shows the workflow to determine the data to transform the georeferenced point clouds into our Revit projects local coordinate system, thus avoiding the problem with large numbers.
Workflow
Cloud conversion and preparation in ReCap
ReCap .rcp / .rcs file format is proprietary. In order for CloudCompare to open and process the point clouds, we will need to convert the data to one of these formats:
- pts (ASCII readable text format, very large files)
- e57 (structured binary format)
We will use e57 format in this guide.
The steps to carry on are:
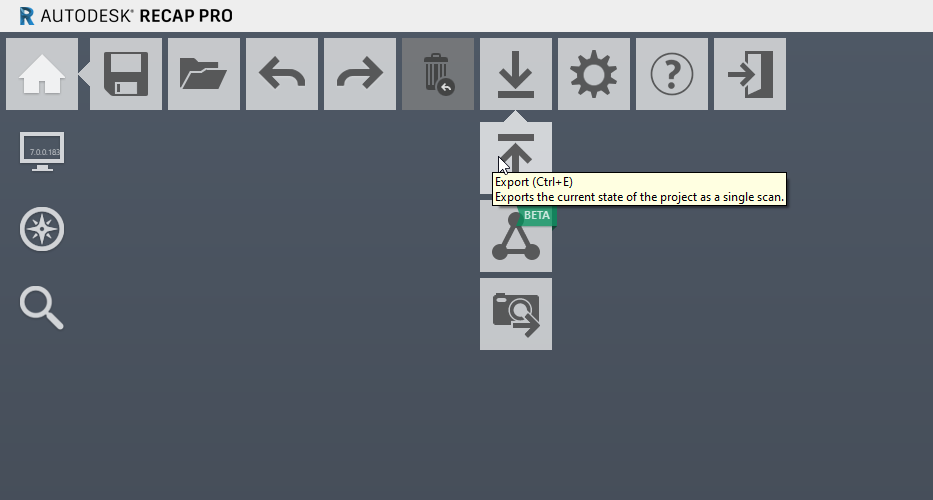
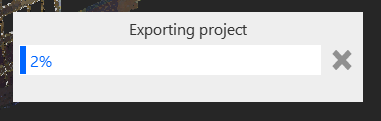
- Export the ReCap project from the main menu or using Ctrl + E shortcut
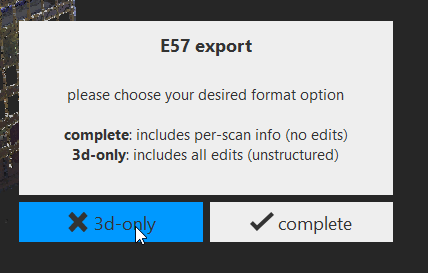
- Export the cloud with “3d-only” option checked
- Save as e57 to be able to open file in CloudCompare
Collection of the necessary data from the model
The Dynamo definition that you will find with the downloadable files for this guide, extracts the information that we will need to process the clouds in CloudCompare
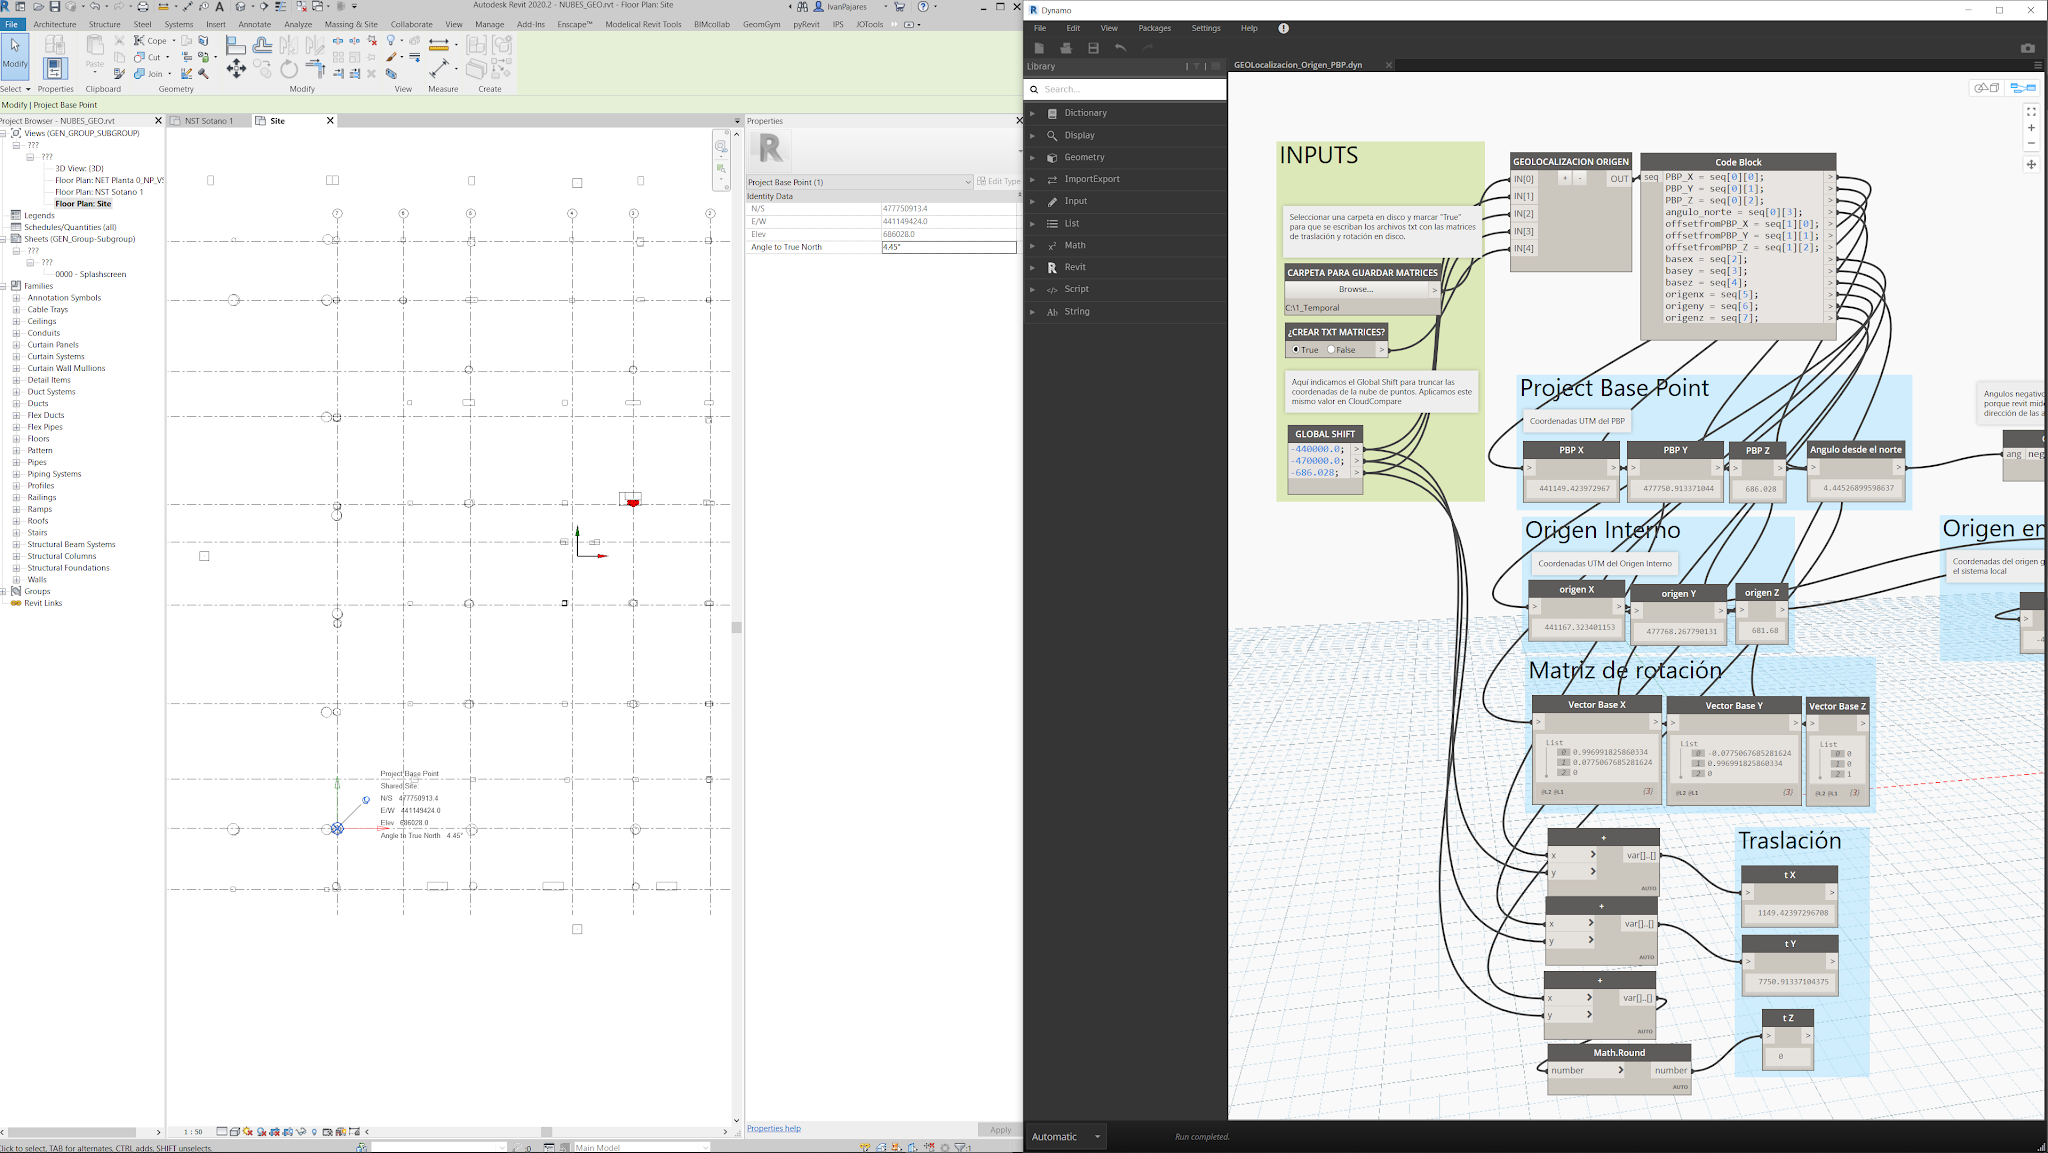
The definition requires the following inputs:
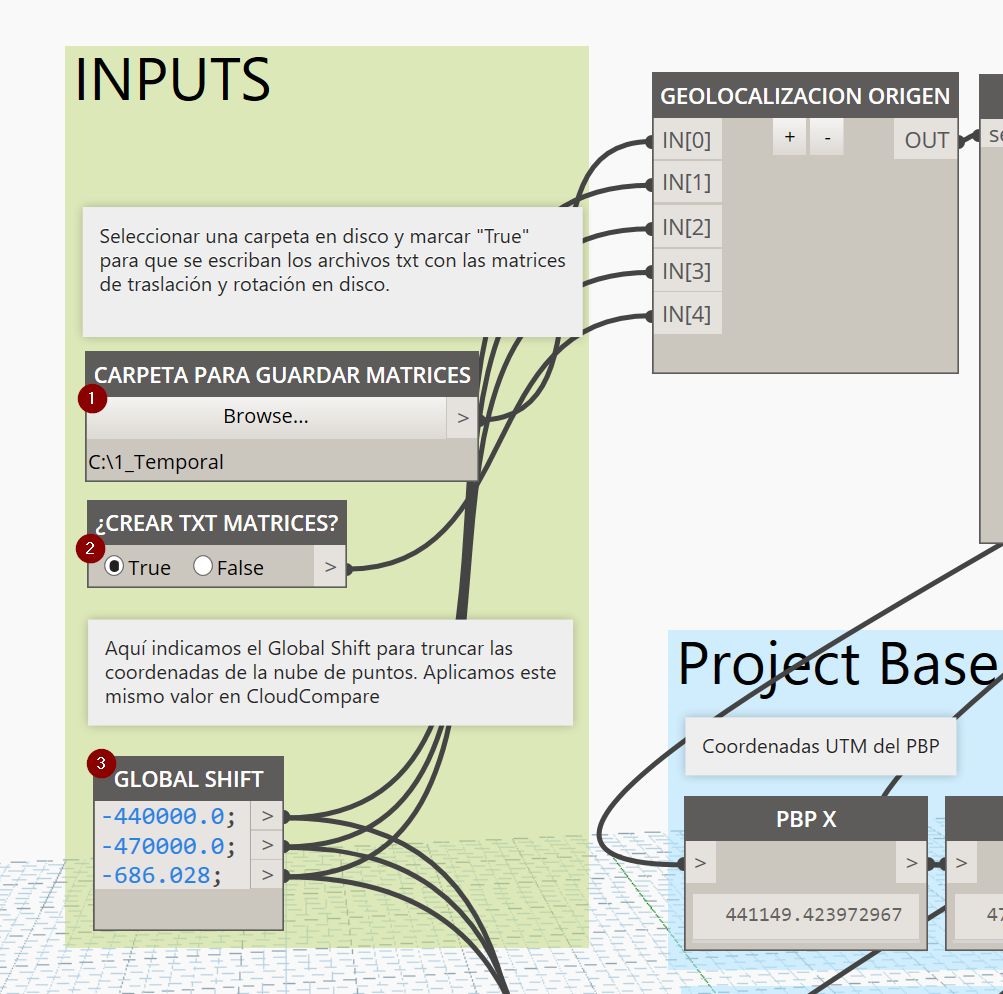
- A folder in disl to place the .txt files with the transformation matrices to use in CloudCompare
- Set this boolean to “True” to save the txt files in the selected folder. If not set, data will be displayed but not stored in disk.
- Set the Global Shift to be used in CloudCompare when importing the clouds. The exported translation matrix created by the definition will take into account this shift and the Project Base Point coordinates.
Please note that this definition exports data in meters.
Processing in CloudCompare
Let’s open the e57 files in CloudCompare
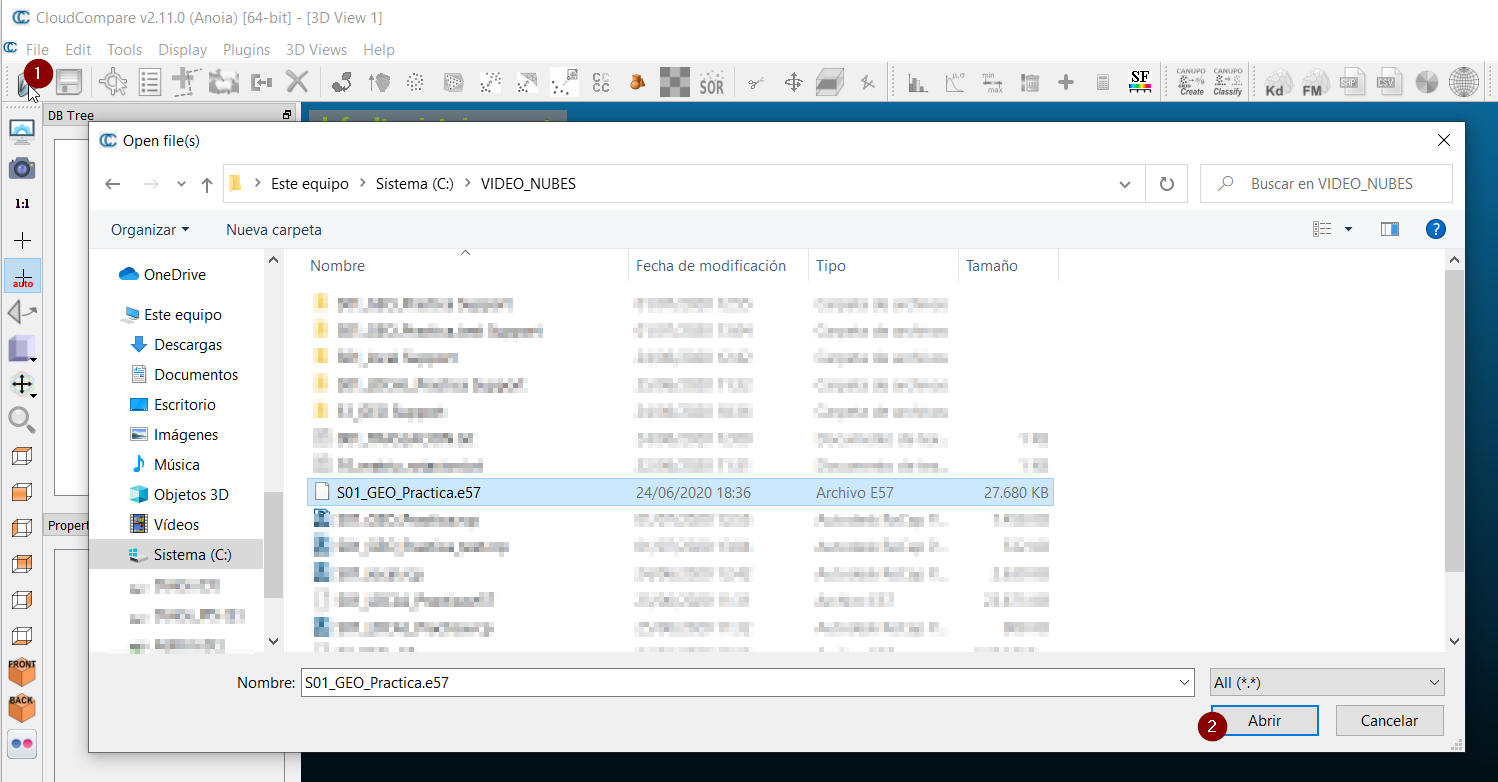
In the Global shift/scale dialog, we select the global shift or dial the required values (1)
Make sure to uncheck “Preserve global shift on save”, and apply the shift to all the scans with “Yes to All”. We want to truncate UTM coordinates (3) in our local coordinate system (4).
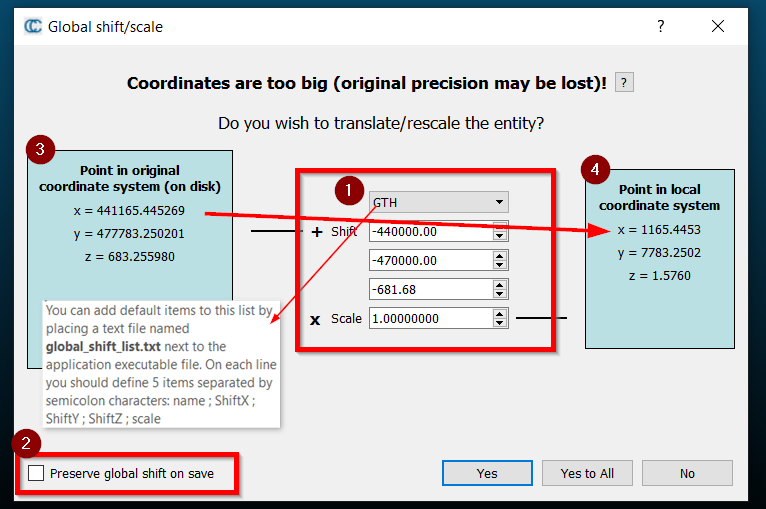
If we will repeatedly use the same global shift for many clouds, we can preset it and save for later use with a name that will show in the dialog, as shown in the image above.
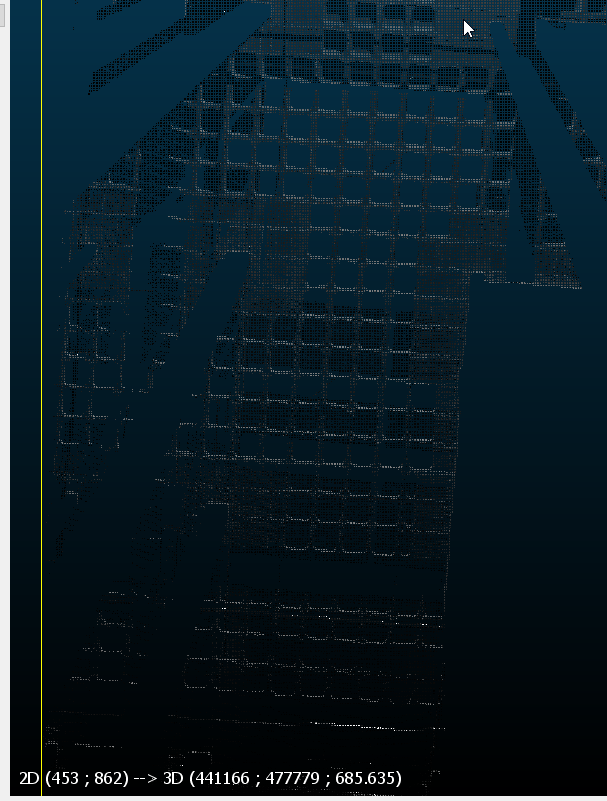
Please note that as of the CloudCompare version used in this guideline, the first cloud in the batch usually does not get the global shift correctly applied. We can check by zooming in to each cloud and checking their overlap.
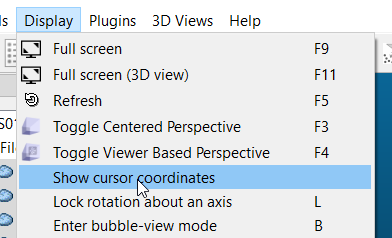
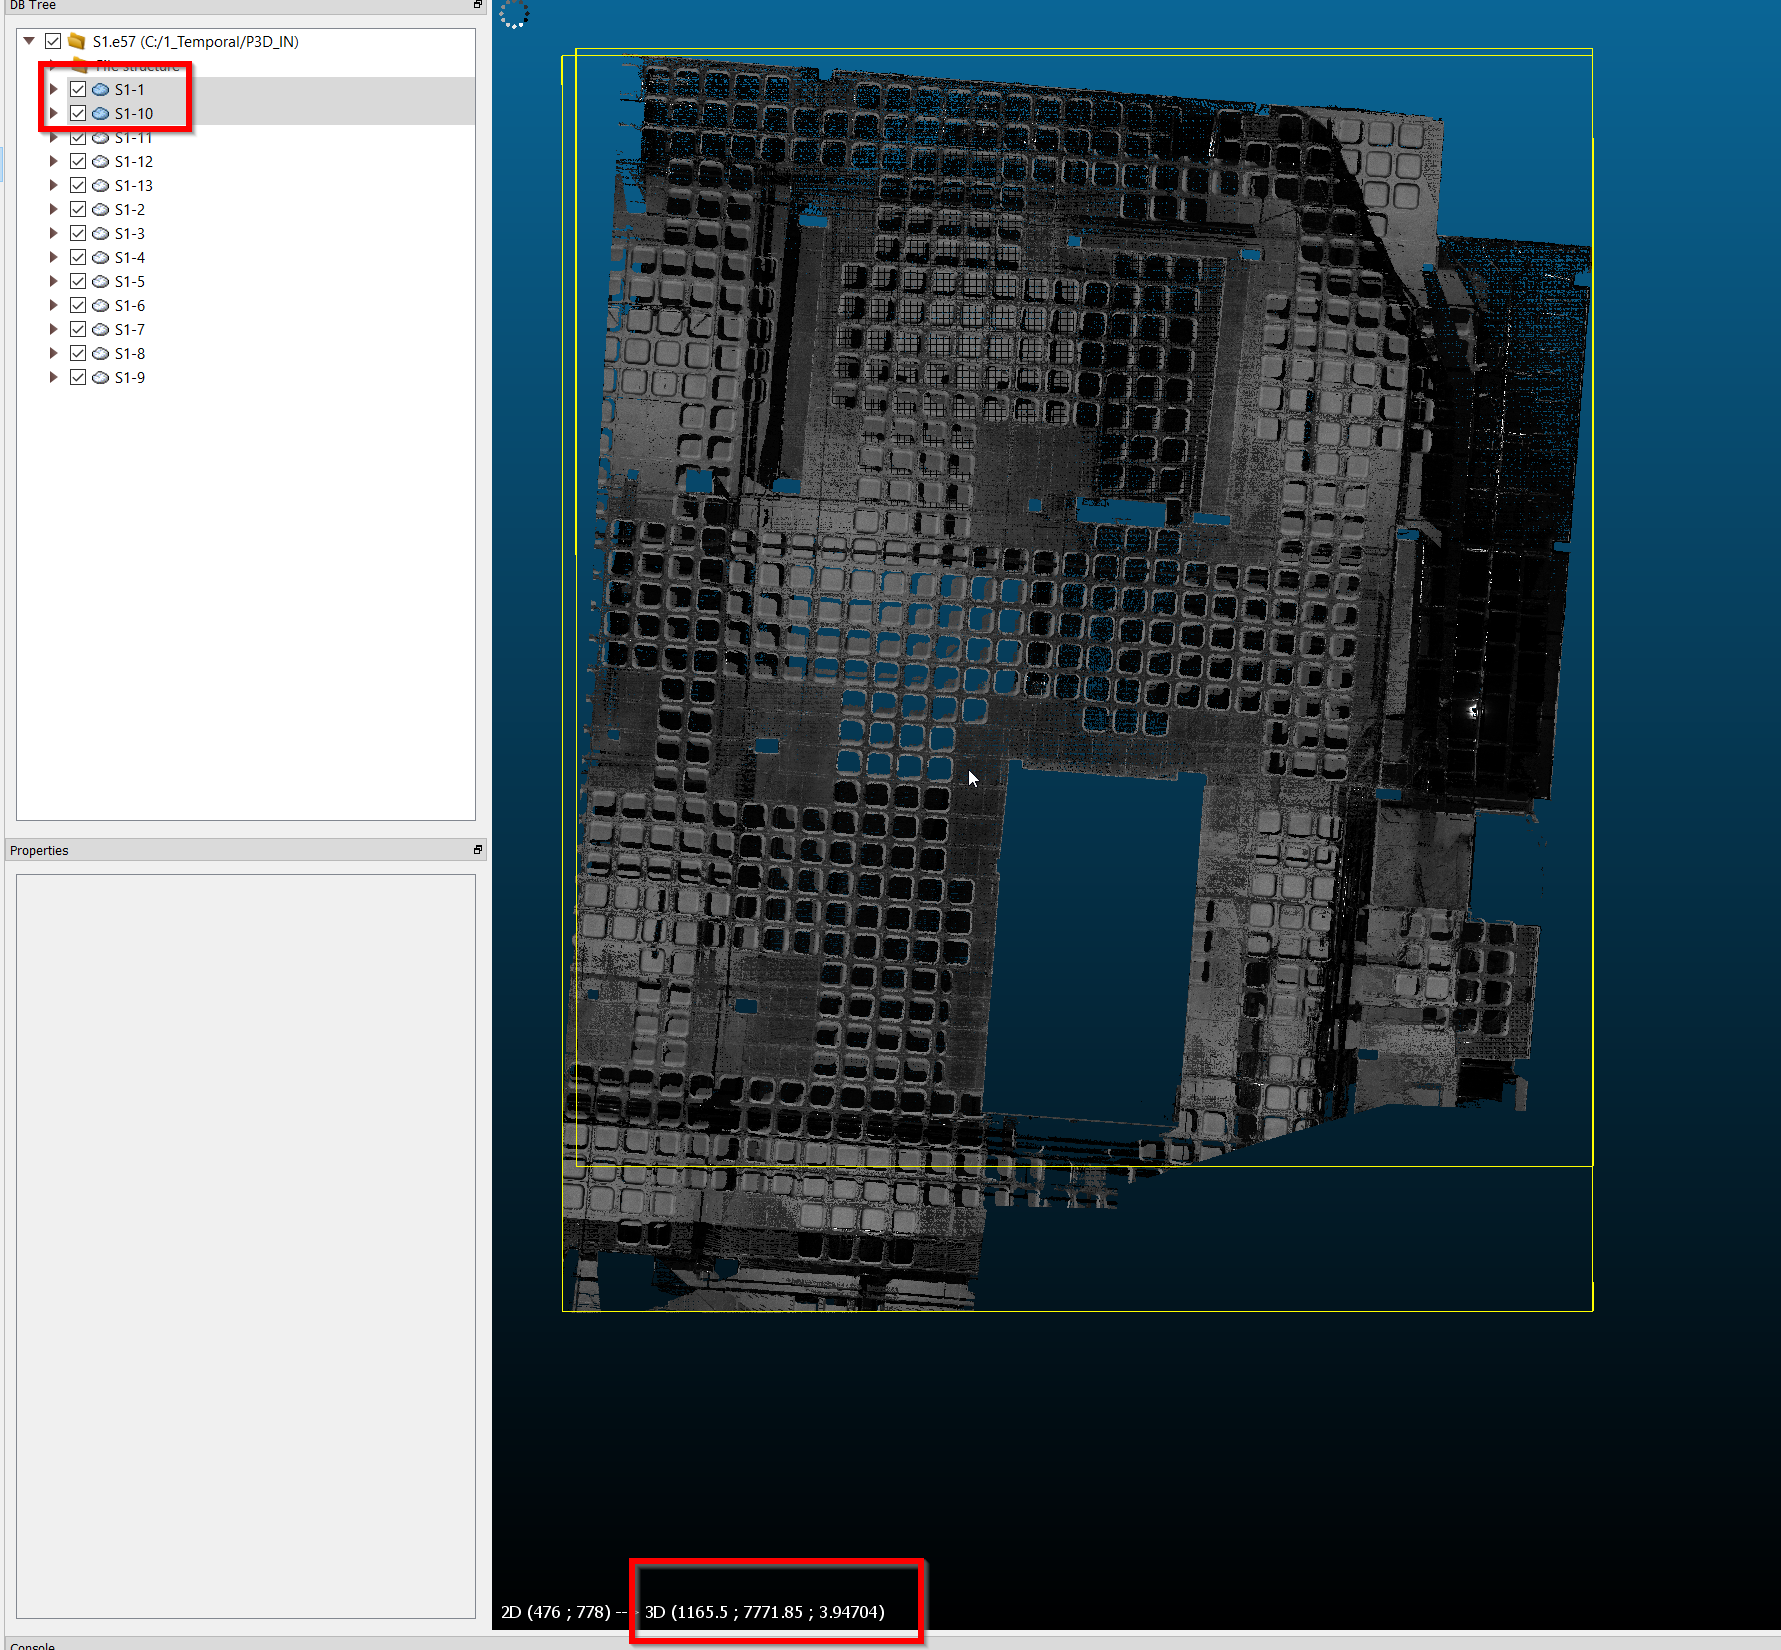
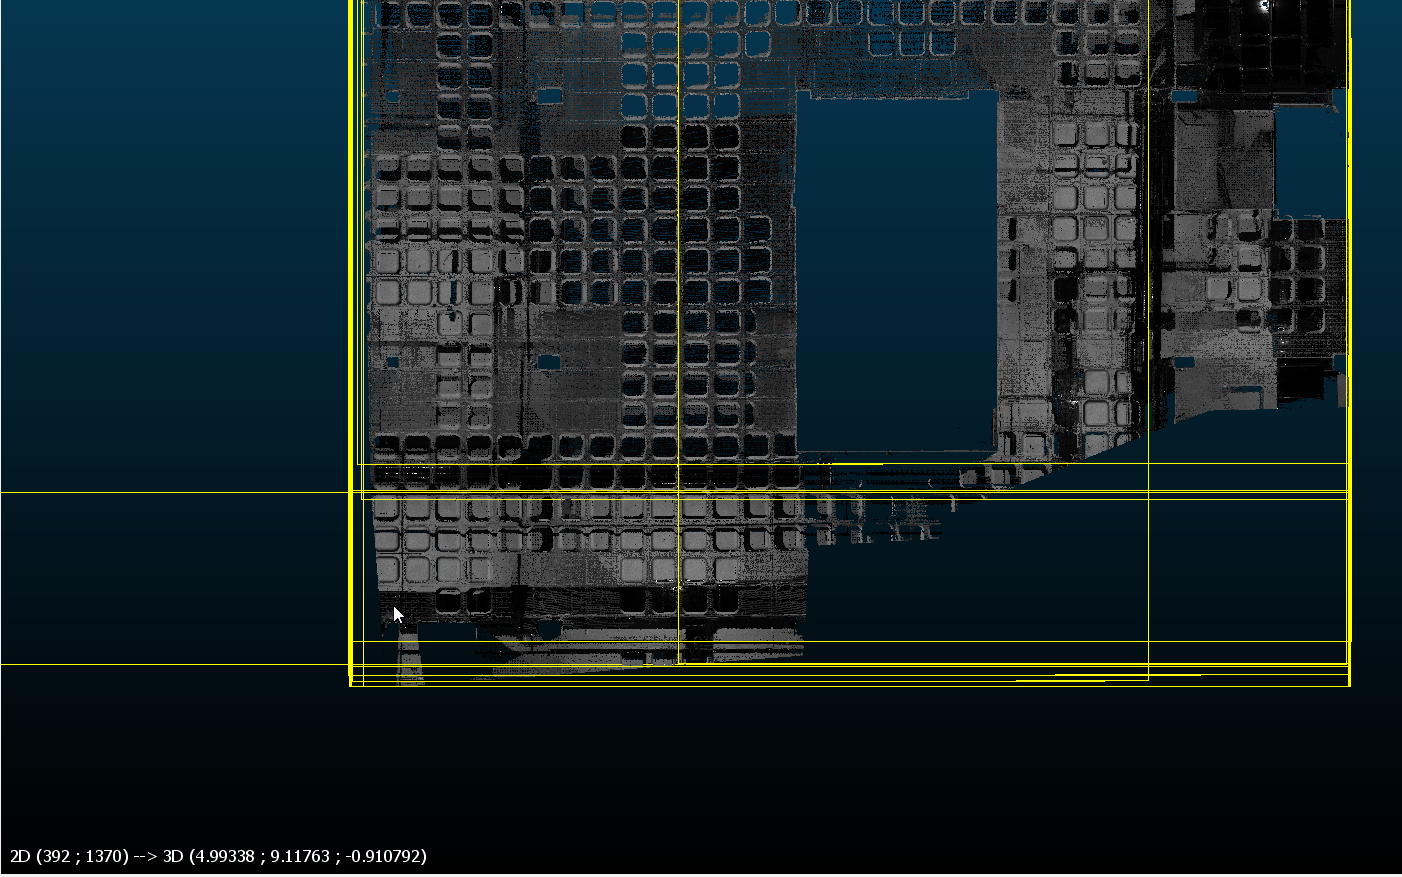
TIP You can show 3d coordinates of points using Display > Show cursor coordinates. |
Cloud with wrong shift (coordinates with large UTM values) | Cloud with correct shift applied |
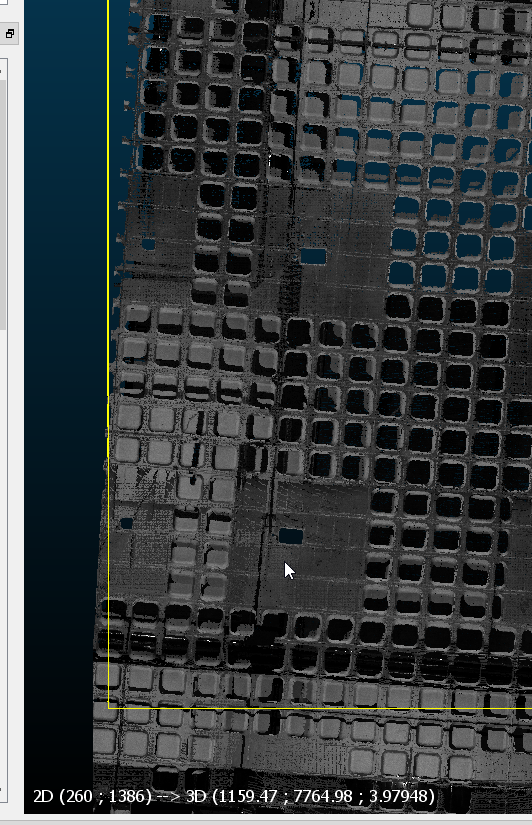
To correct the applied shift in the offending cloud we edit again its global shift and check that the coordinates in the local coordinate system are consistent with the expected values:
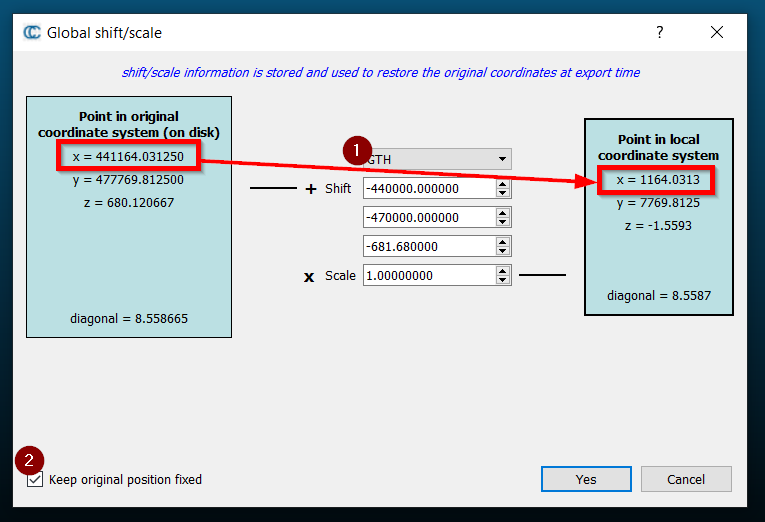
We will select the global shift by its name (1) or we can use the last value applied suggestion.
We check “Keep original position fixed” (2) and make sure that the local coordinates match the other clouds. We check that the cloud overlaps correctly with the other scans.
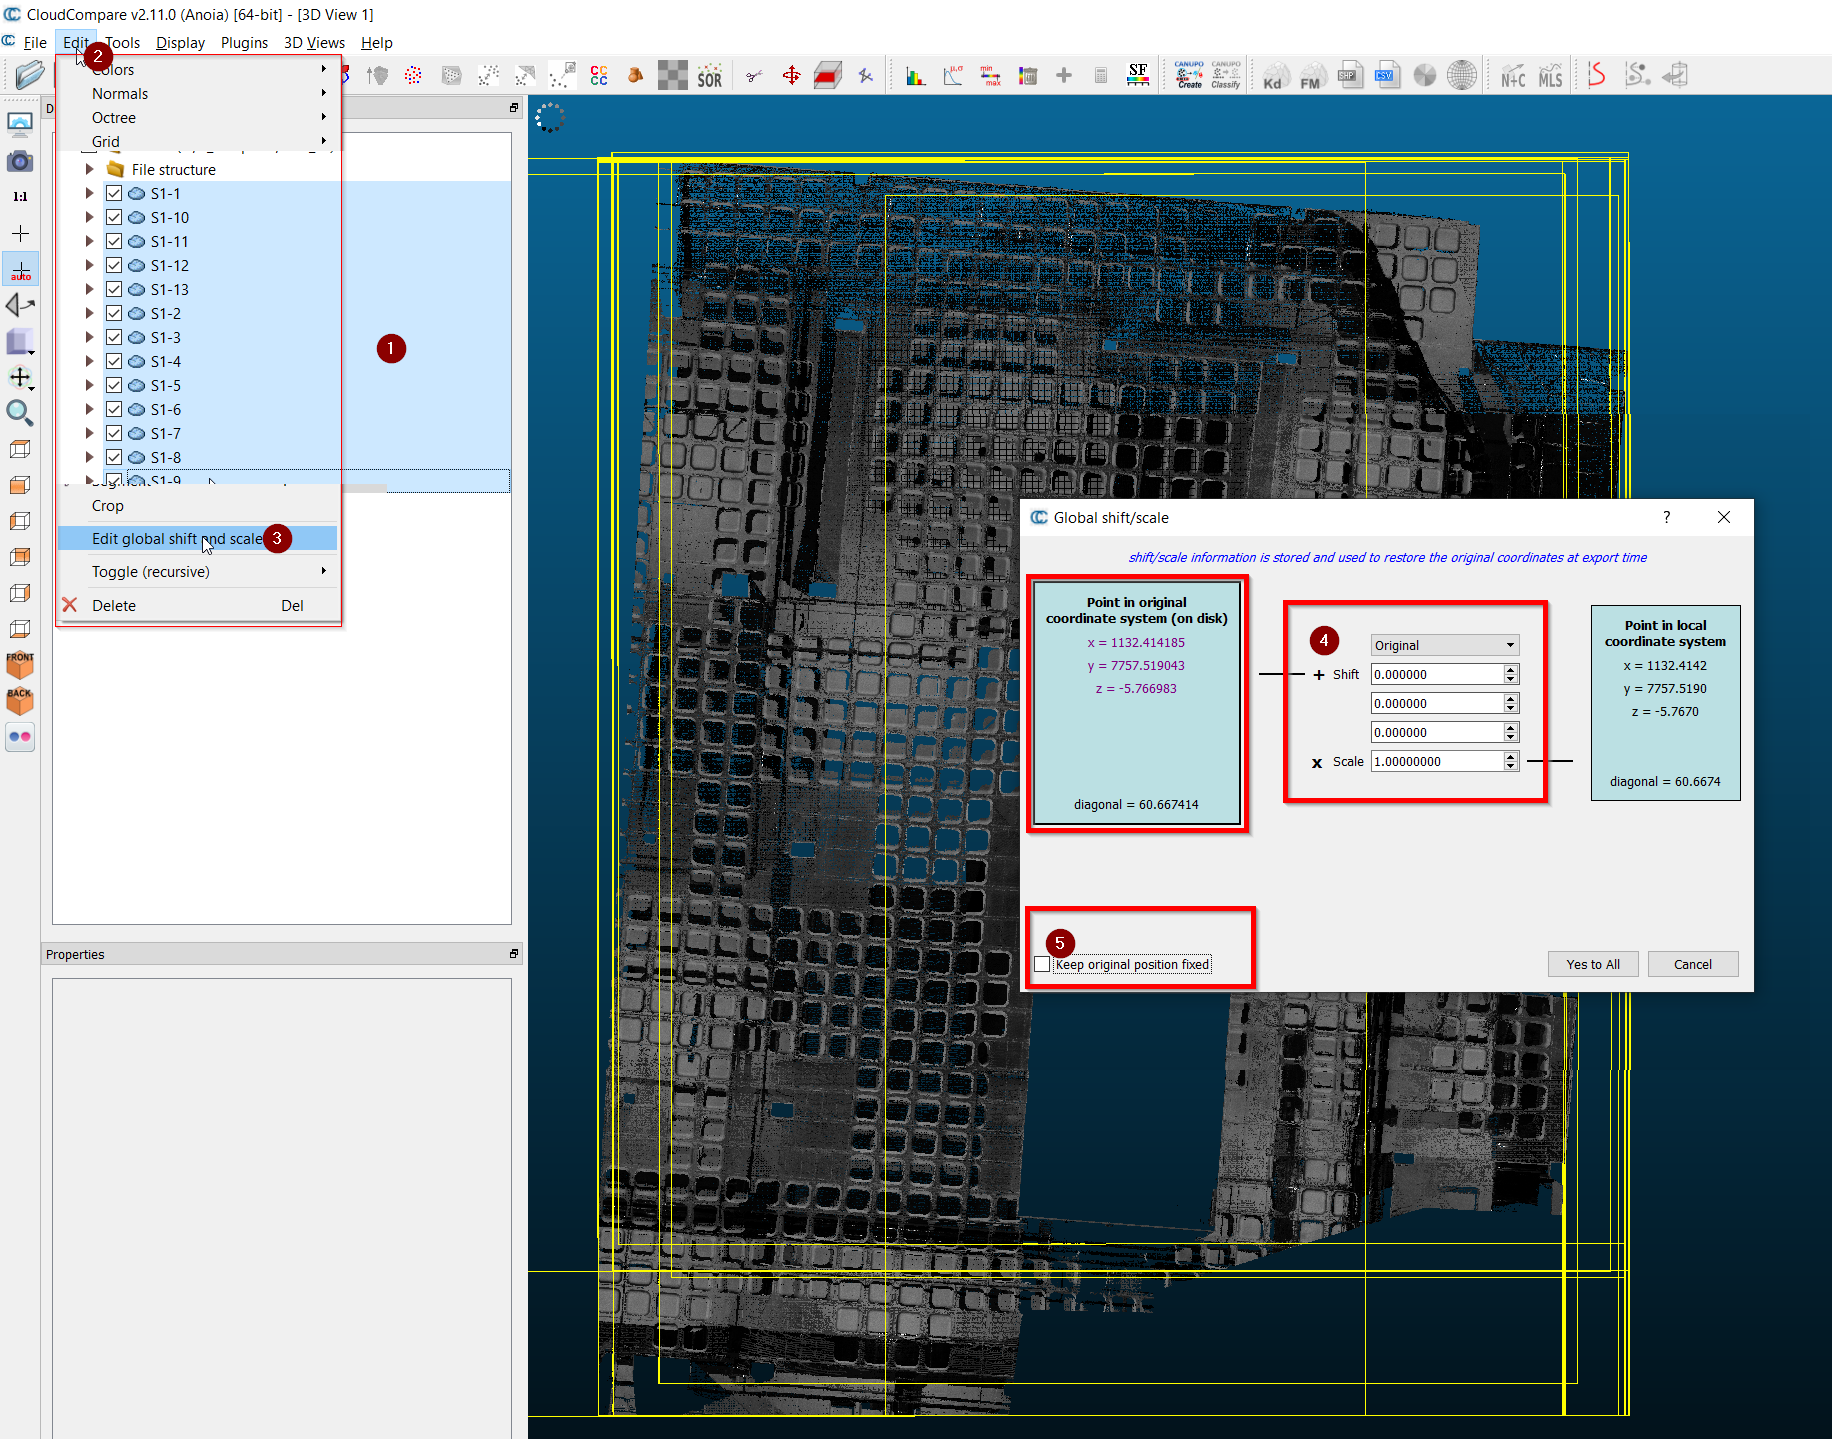
The next step is critical: we must zero the global shift in all shifted clouds in order to stopping CloudCompare from re-applying it at save time, placing the clouds back in their original position.
We select all the clouds in the DB Tree panel (1), in the Edit menu (2) we select ““Edit Global Shift and Scale” (3). We zero in the global shift (4) and check “Keep original position fixed” (5). You’ll see that coordinates in the left panel (showing values to be written to disk) are blue and with the truncated values shown in the right panel.
Our next step will involve applying the transformation matrices we created with the Dynamo definition to all scans.
- Please select all the scans again and click on Edit > Apply Transformation. Load the .txt file with the matrix to apply and clickPlease apply the translation matrix first and the rotation matrix last. Note that the order of transformations is important.
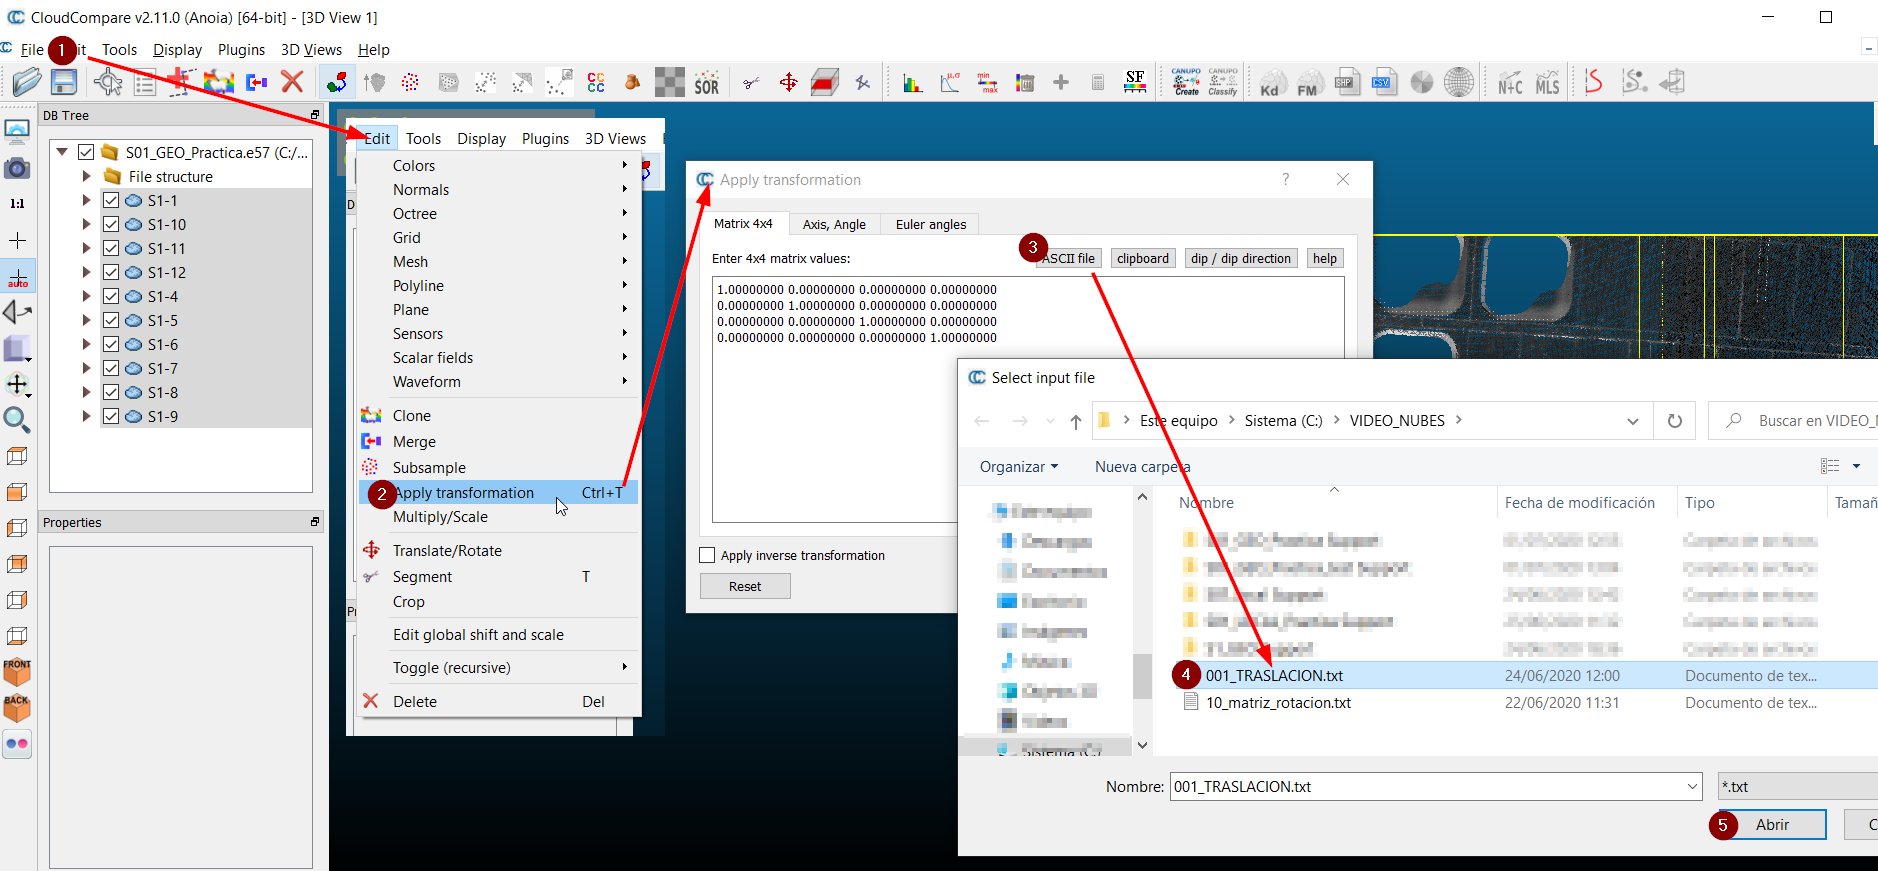
- Check that the scans are rotated and align to the main axis and the origin sits in the expected location.
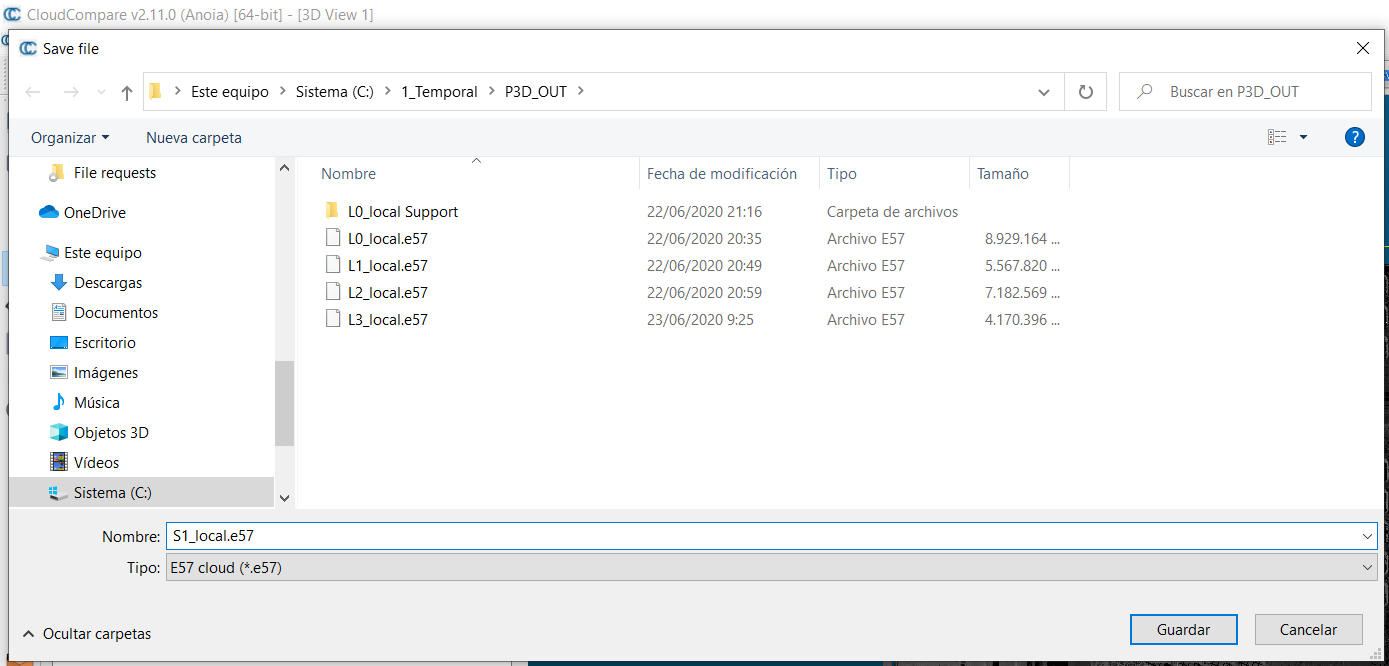
- The final step at this stage will be saving in e57 format the transformed point cloud.
Conversion in Recap
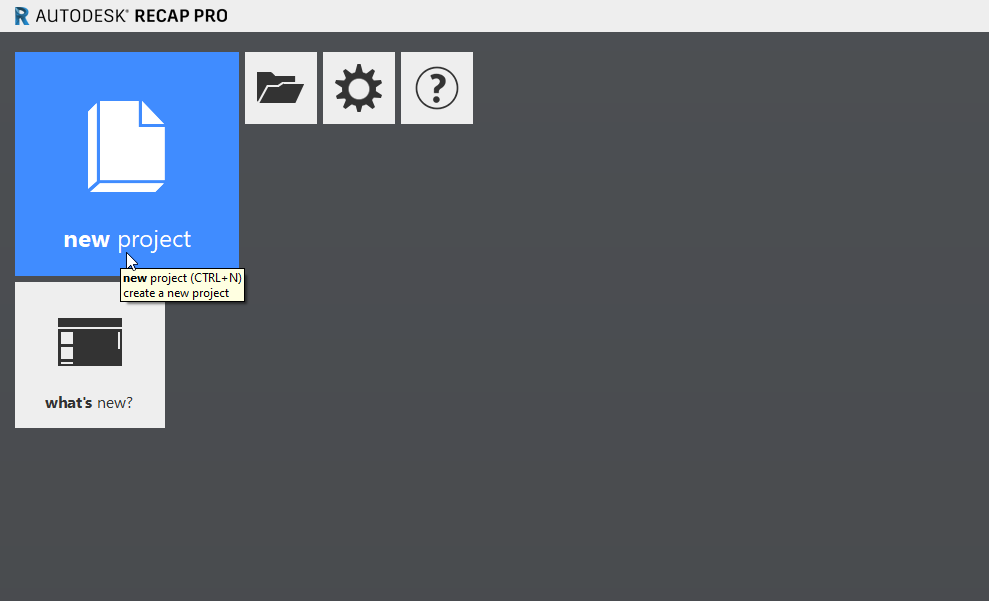
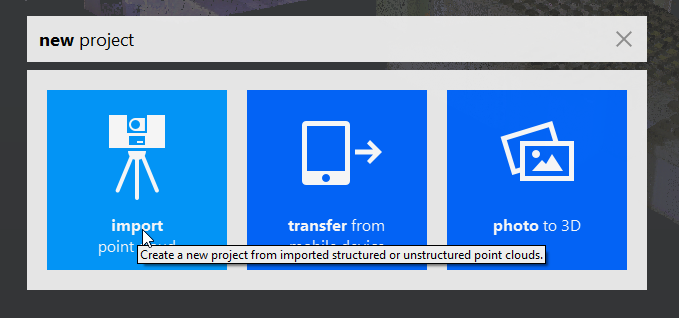
Please create a new ReCap project to import the transformed clouds
The .rcp project will contain the transformed clouds and will be inserted in Revit.
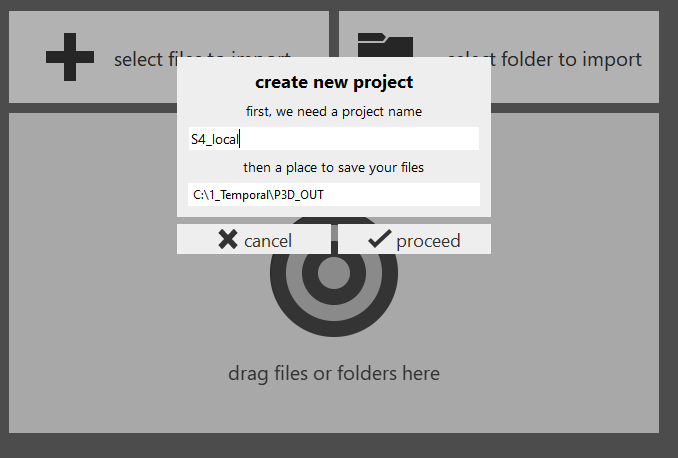
Import the e57 file to process it
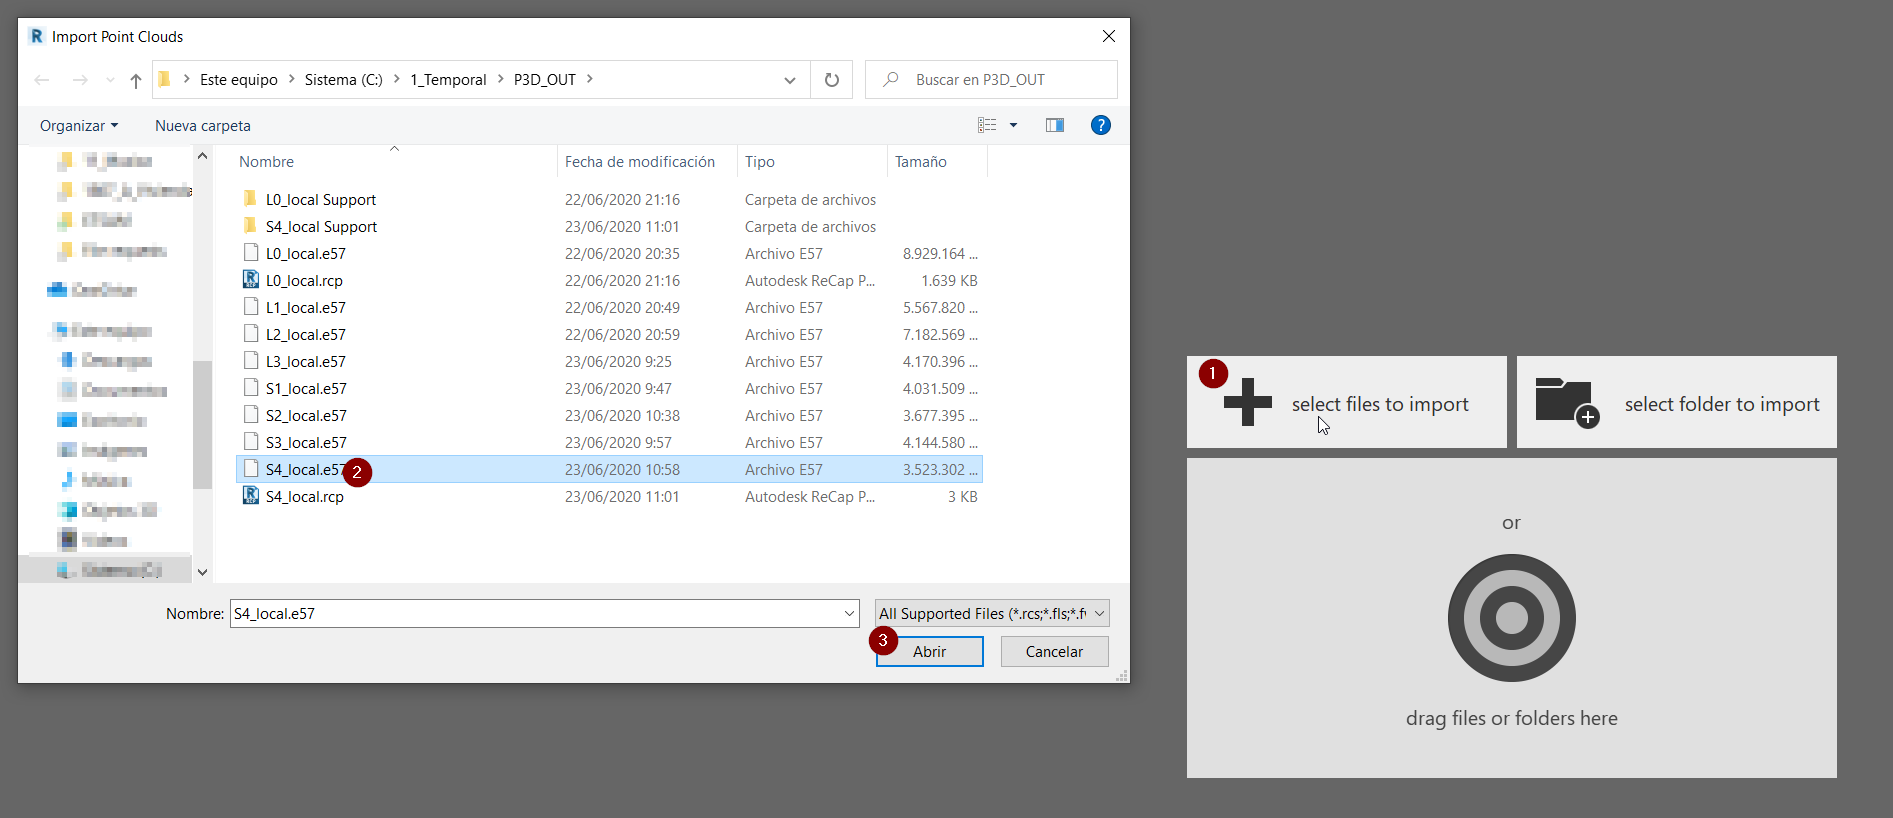
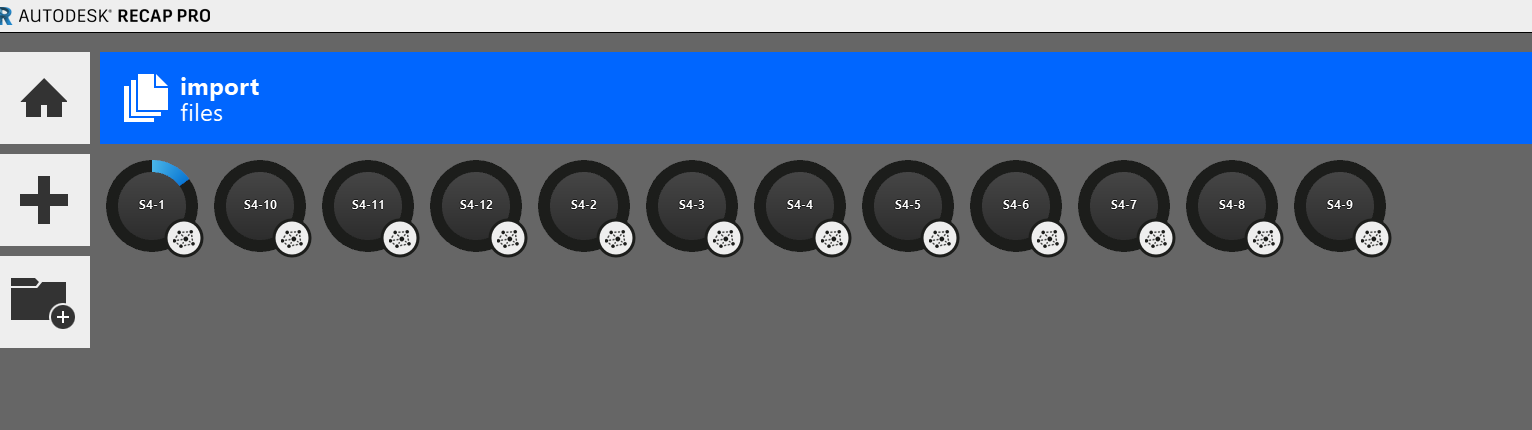
Click Next and ReCap will start indexing and processing the scans.
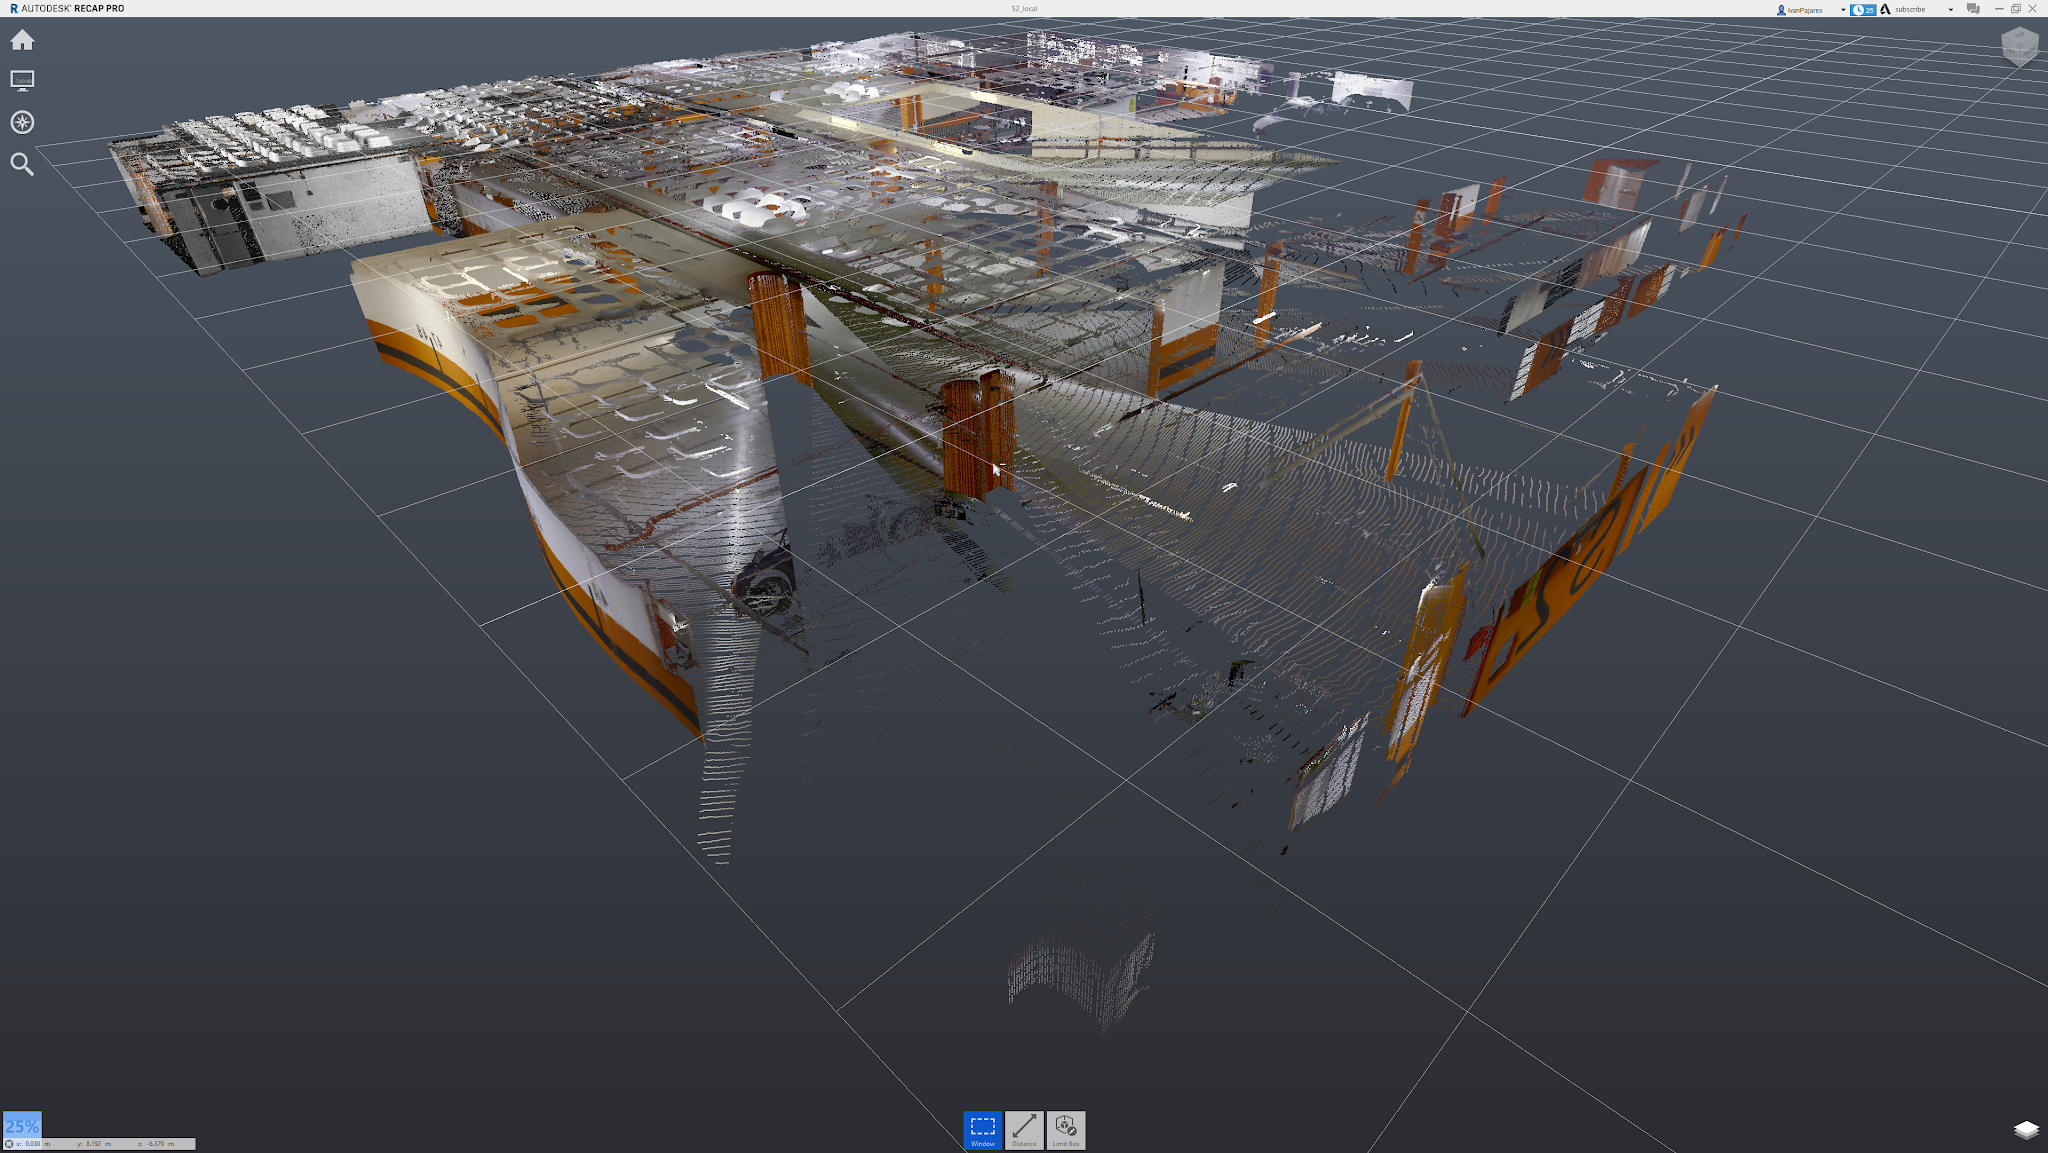
We can open the project and the scans will appear gradually as they are processed in the background. When any scan appears, we can check the coordinate values to assert that the values are correct before importing into Revit.
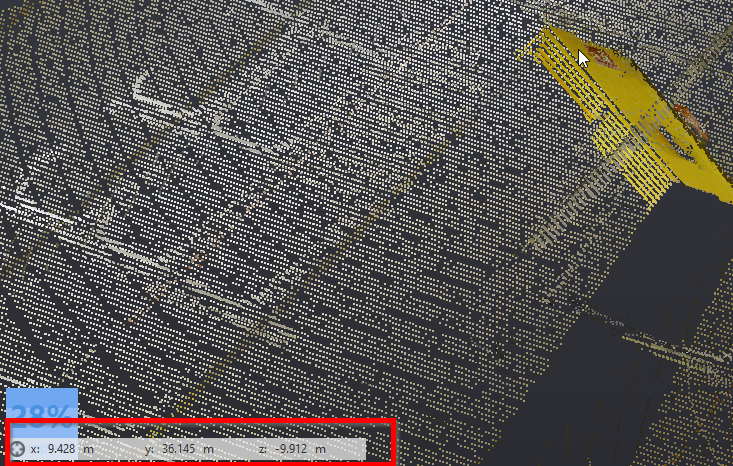
Save the .rcp project when done.
Point Cloud insertion in Revit
The transformed point clouds (1) can now be inserted in Revit “Origin to Internal Origin” (2) although Revit will align the Point Cloud origin with the Project Base Point.
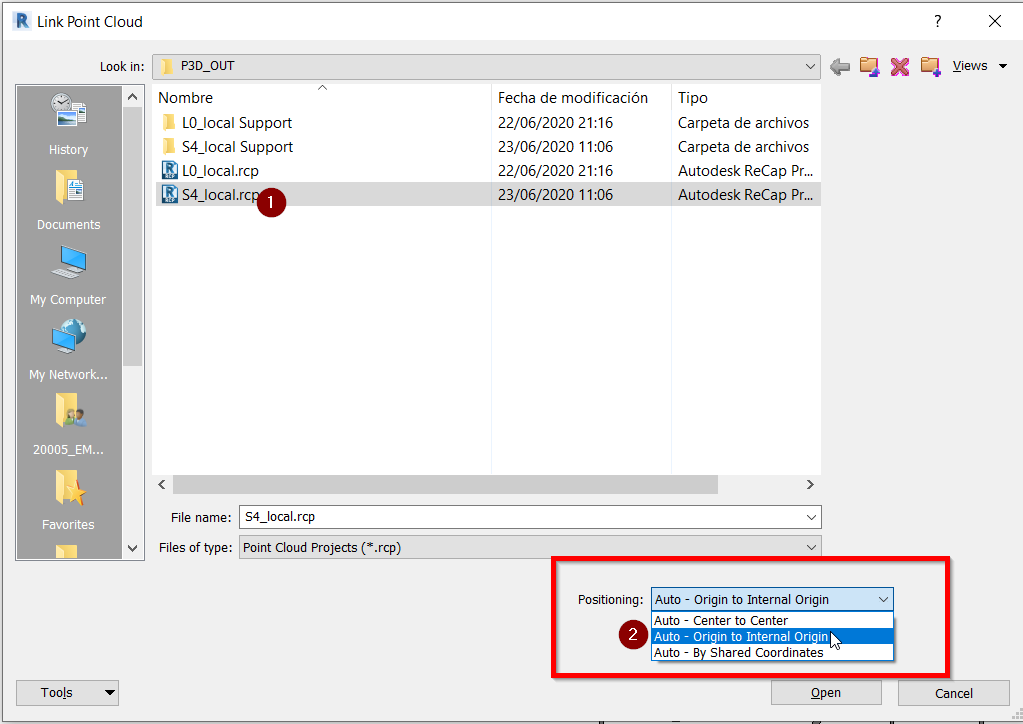
We load the file in and check that everything aligns as expected.
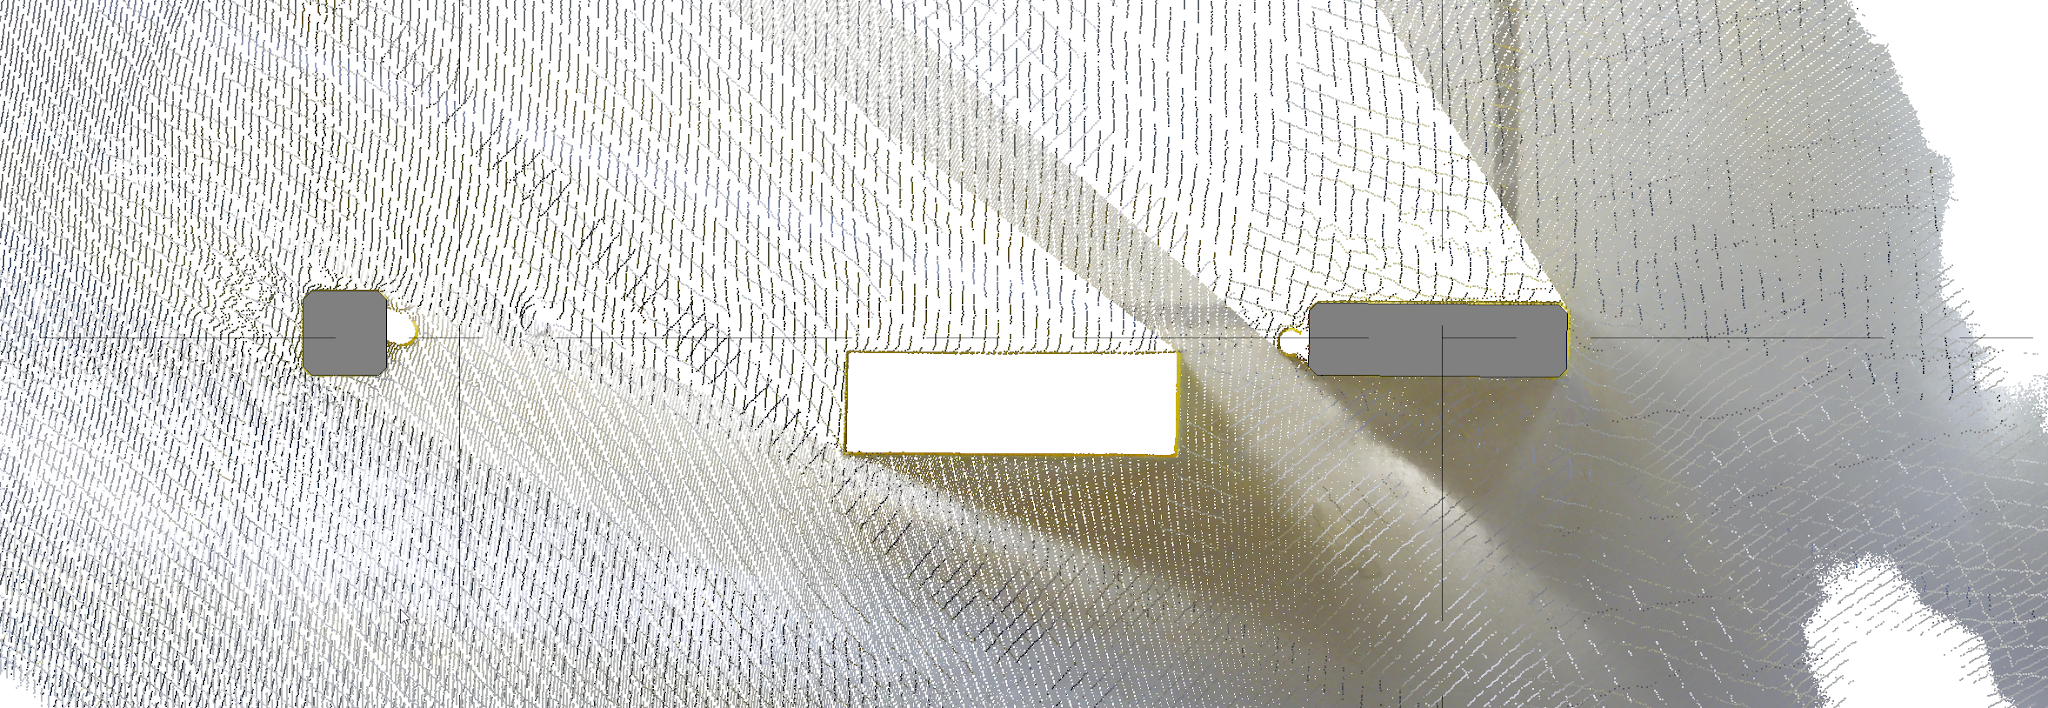
Done!
Tips&Tricks
- In small projects (those that can be inscribed in a square of 100m side) it is better to agree with our topography expert to work in a local coordinate system meaningful to the project site.
- Point Clouds can be sectioned an extracted so that they show only the information you need at each moment. You can, for example, separate a level scan into floow, intermediate and ceiling sections to lighten up the work in Revit..
Bottom-line
Reality capture with point clouds means that a huge volume of numerical data has to be processed. Revit does not deal with huge numbers (like UTM coordinates) very well so: why not simplify de problem?
References
- The James Worrell’s post in LinkedIn that inspired this guide
- About Point Clouds and BIM models, de Almudena Gómez
Hola! Muy interesante la información. Tengo una consulta, se puede vincular modelos revit a recap ?? Saludos
Hola Pedro,
ReCap permite vincular modelos CAD pero es una opción de pago que requiere ReCap PRO. Es posible probarla usando un “Trial” o versión de prueba. Con ello podrás vincular modelos de NavisWorks. Cualquier cosa que puedas importar en NavisWorks – en teoría – podrás llevarla a ReCap.
Buenas tardes. Gracias por compartir esta información. Sólo me surge una duda, ¿de dónde se obtienen las coordenadas del Global Shift? Gracias
Hola Victor. Cuando trabajamos con coordenadas muy grandes, típicamente por encima de 10^5, cloud compare (que trabaja con números de coma flotante tipo float) puede tener problemas de cálculo y te advierte de que sería mejor mover las entidades (Global Shift) a un sistema de coordenadas local para trabajar con coordenadas más pequeñas, por lo tanto dependen del proyecto en realidad.
Te dejo un video donde se explica el concepto “Global Shift” de manera bastante práctica y explícita y que creo que puede arrojar luz a tu pregunta. Espero que te sirva de ayuda!
Un saludo
Does it also work for Autodesk inventor?
By chance you don’t have a video of this procedure on YouTube?
Hi Roham, unfortunately we haven’t got this video available and didn’t try this inside Inventor, Revit only, sorry.
Regards