

Blutilities
One of the best ways to speed up workflows within UE4
BLUTILITIES
File: Blutilities
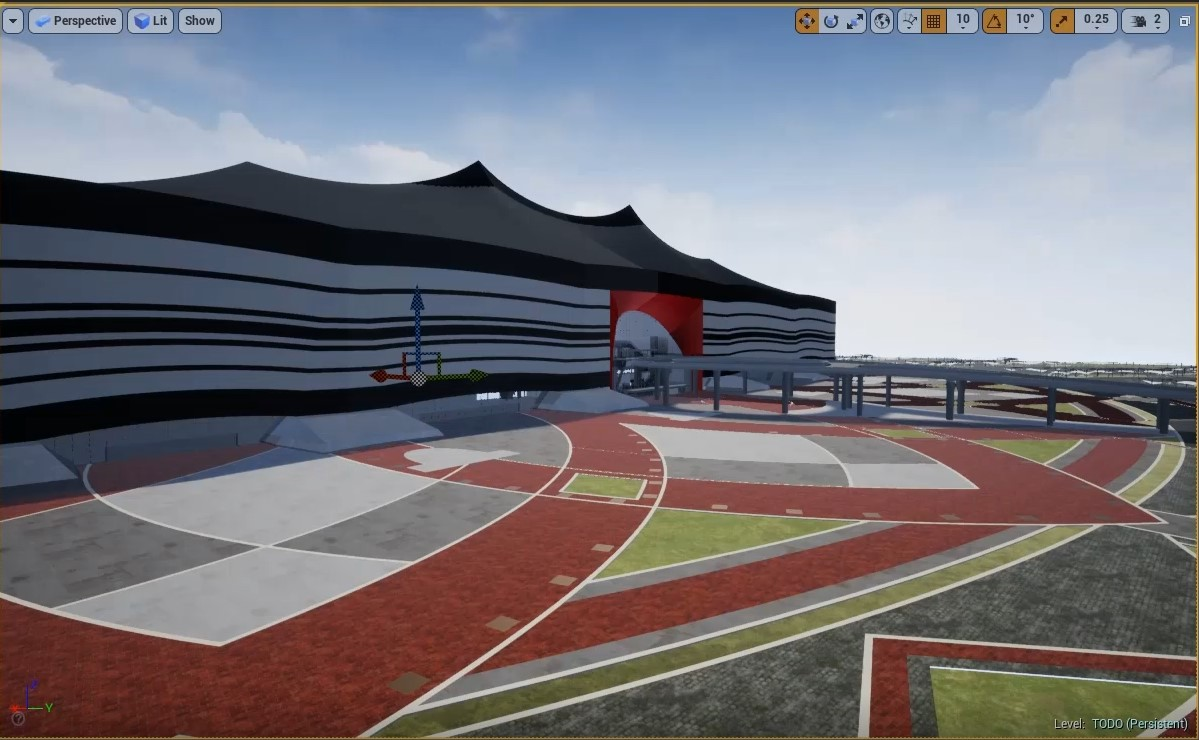
Objectives
- Learn about blutilities
- Learn what blutilities are for
- Example of use: How to place 500 assets in UE without dying trying?
- Blutilities - Hierarchical Instanced Static Mesh - Foliage comparison
Assumptions
- User will be using Unreal Engine 4 (version 16, 17, 18 or higher)
- User will be using Rhinoceros - Grasshopper or Revit - Dynamo to extract data of position of the assets
What are Blutilities in UE?
Blutilities (blueprint + utility) are a way to expand the functionalities inside Unreal editor interface. Users can create as many blutilities as repetitive actions can have.
When to use Blutilities?
Blutilities have some limits. It’s difficult to describe all the actions can be done using blutilities, let's say can be done as many things as blueprints can do, and more. The added value of blutilities over blueprints is that are included in the unreal editor, making their use more accessible.
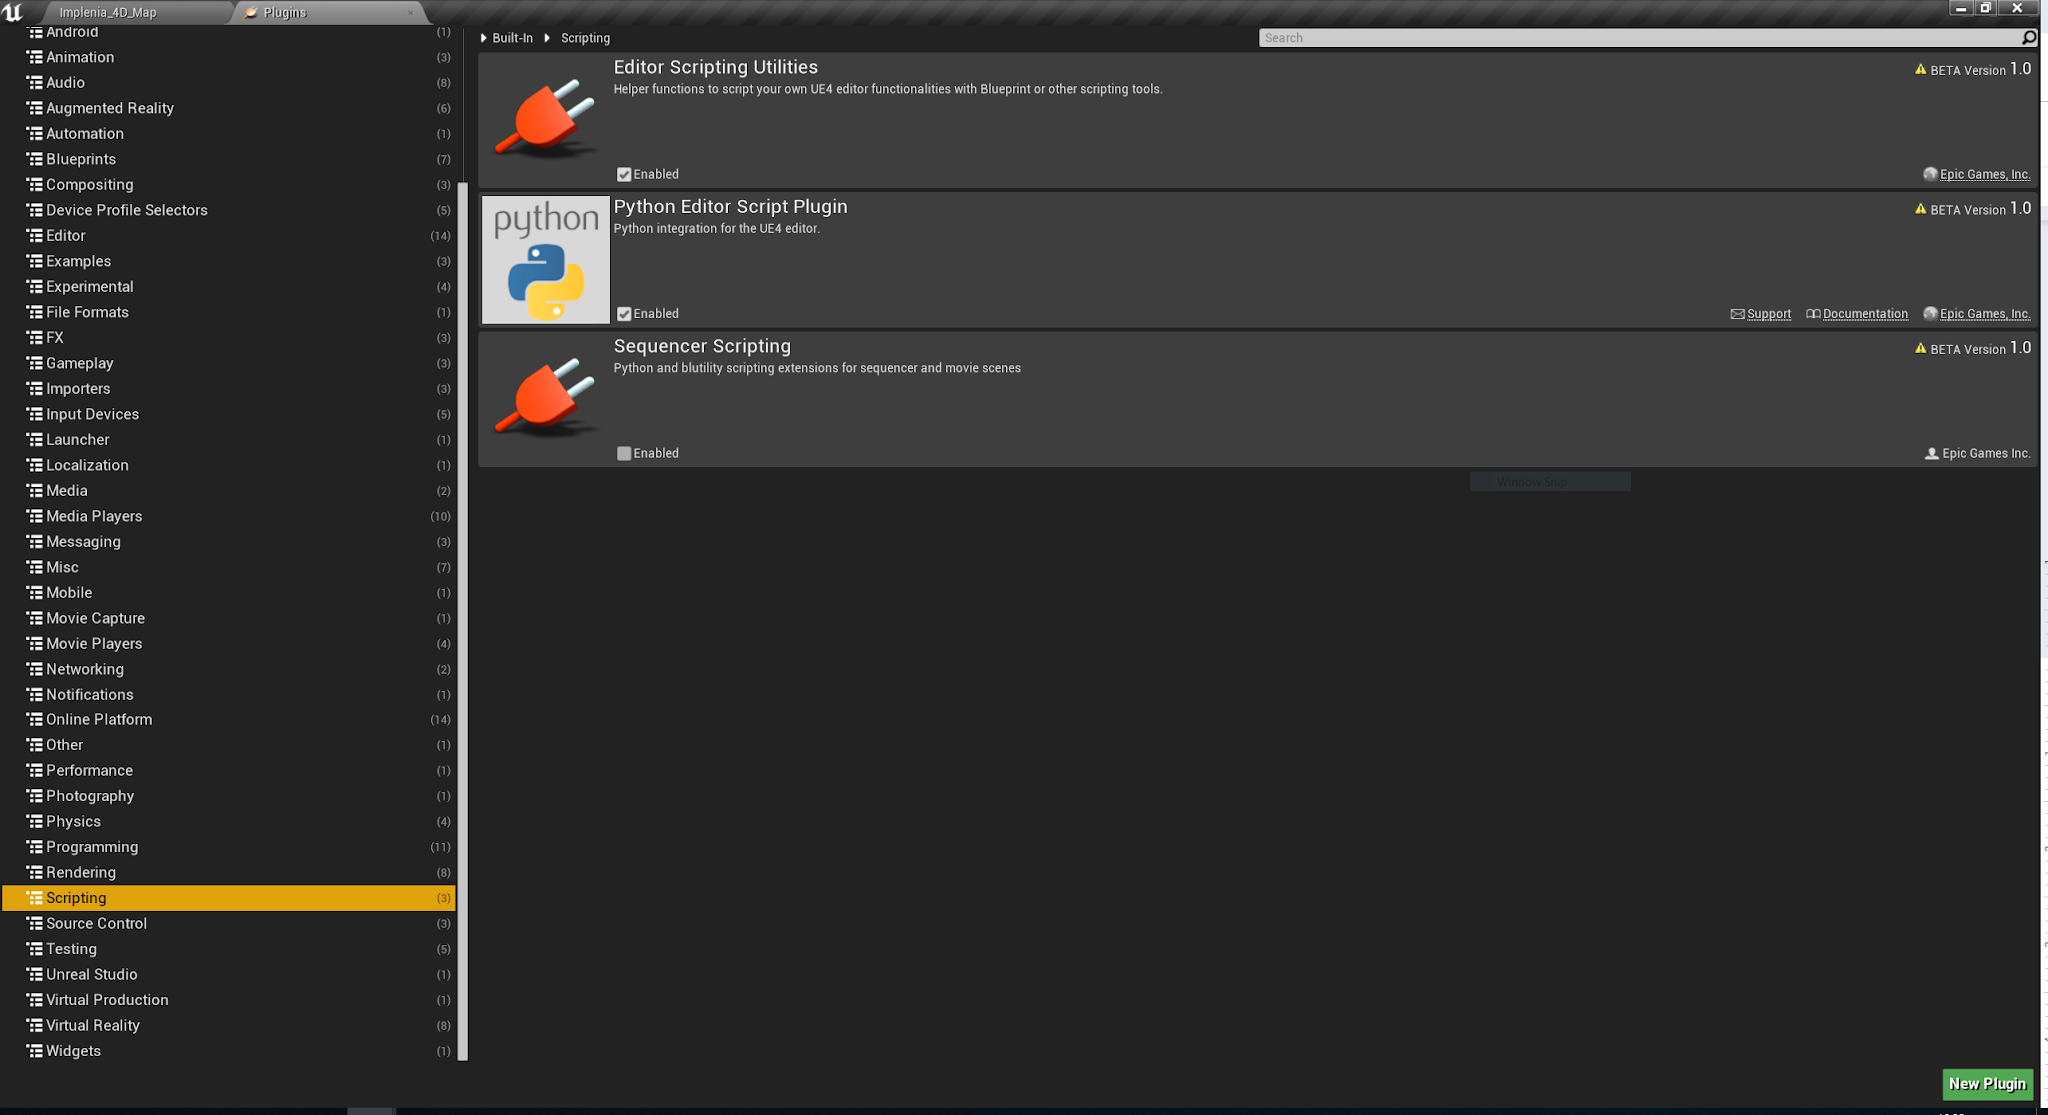
Some editor functions are limited, so user have to enable Editor Scripting Utilities in Plugins section to get as much tools as possible:
Some commonly uses of blutilities:
- Replace all static mesh actors of a type without tediously doing it one-by-one
- Spawn many geolocated actors in a scene at once
- Change actors of a type without tediously doing it one-by-one
- Replace materials
- Merge actors
- etc
Procedure
There are two different ways of creating a blutility in UE:
- The first option allows users to create an actor blueprint that can be activated from the editor
(Procedure A) - The second option allows users to create any function but has to be activated from the blutility class window. (This option is recommended because is not necessary to spawn any actor)
(Procedure B)
Procedure A
Step 1: Create a blueprint class
Inside the Content Browser, click on New Blueprint Class -> Actor
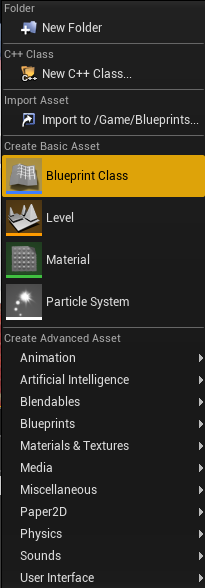
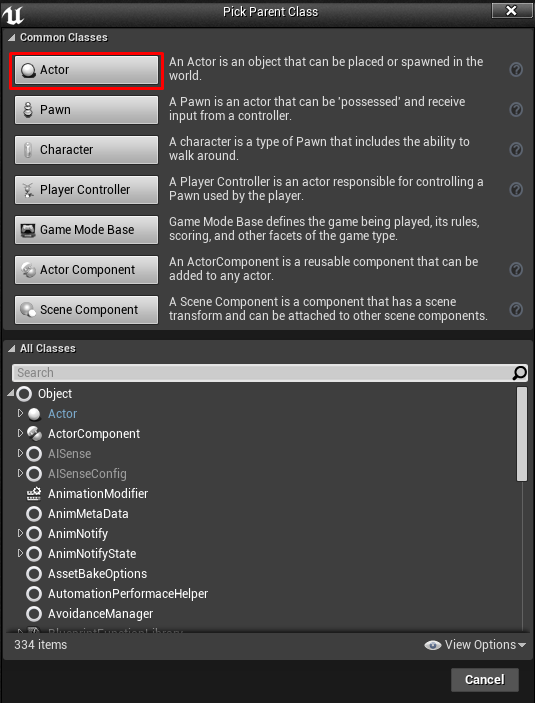
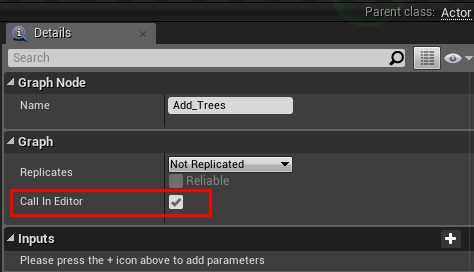
Step 2: Create a custom event or a function and activate the call in editor option
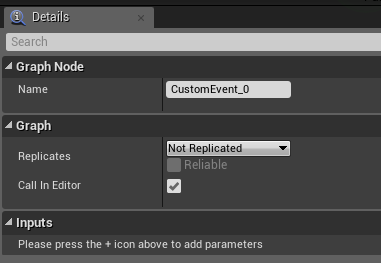
Activate the Call in Editor option to transform the custom event to a Blutility
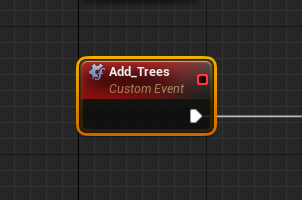
Step 3: Define your action
Define the actions you want to add to the blutility.
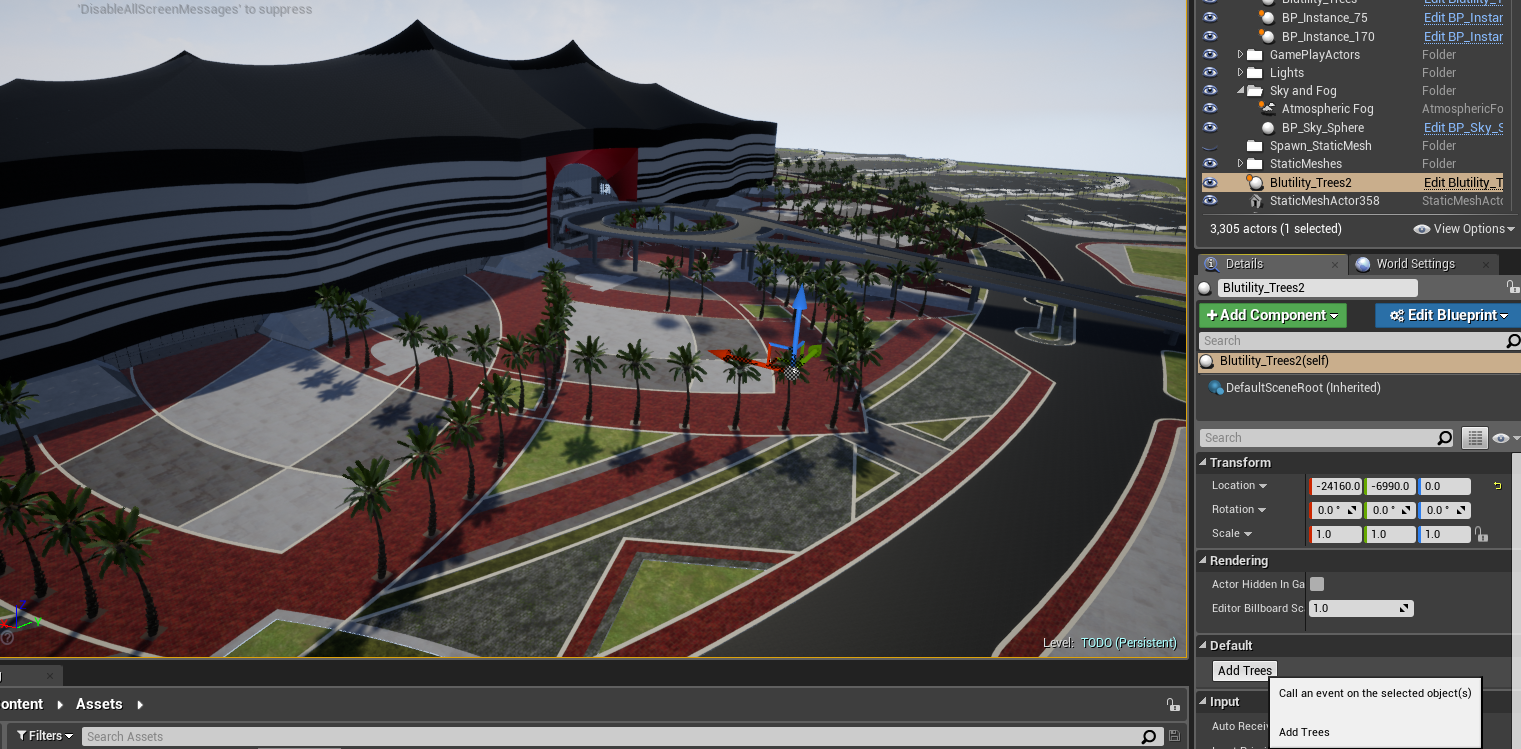
Example: Spawn static meshes reading the position and rotation from a data table.
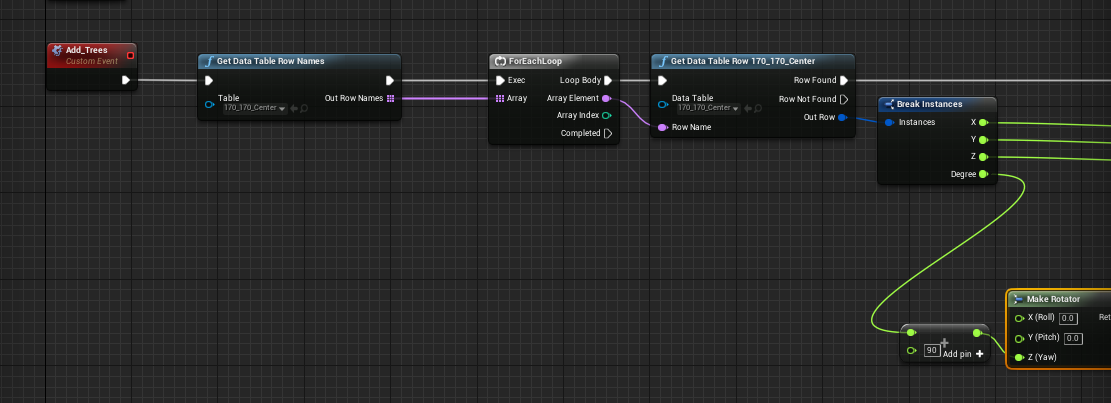
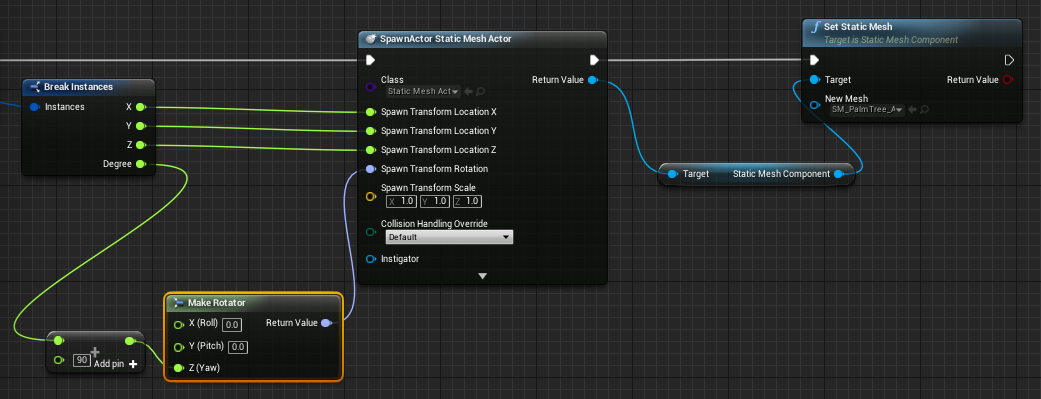
Step 4: Drag & Drop the blueprint to the scene and perform the blutility action
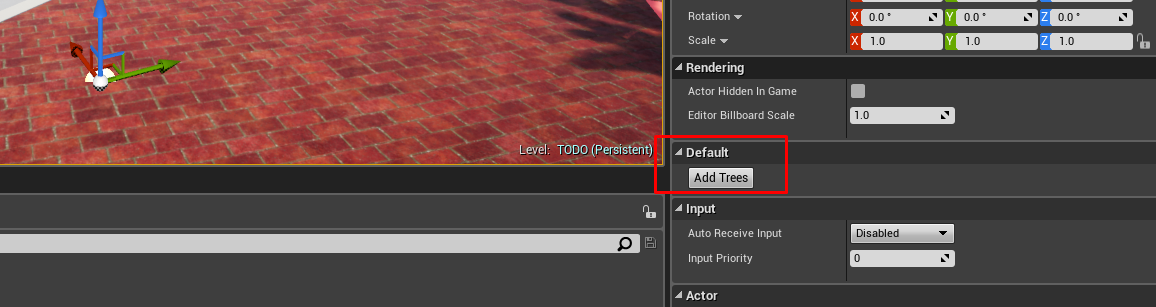
Step 5: Repeat the blutility action as many times as needed
Procedure B
Step 1: Enable the blutility editor
Open Editor Preferences → Experimental, then enable Blutility.
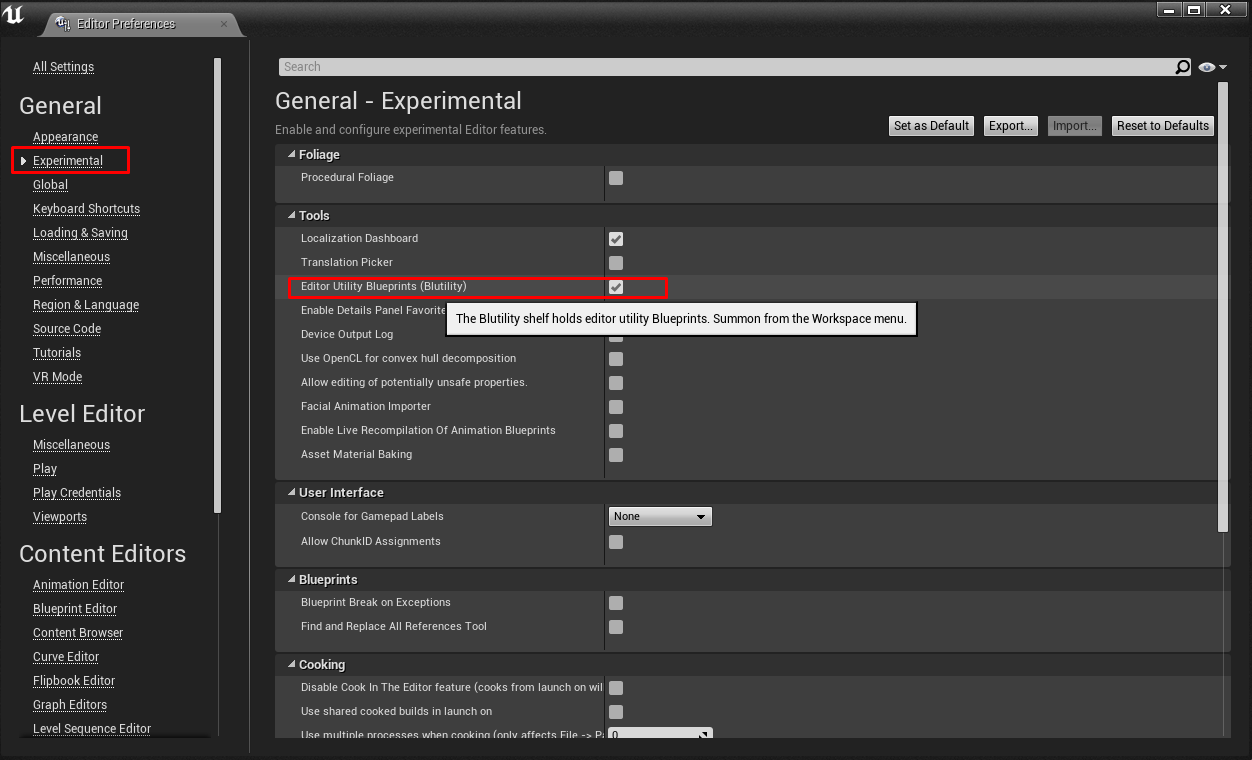
Step 2: Create a blutility from blueprints
Create a blueprint → Blutility → Pick a parent class
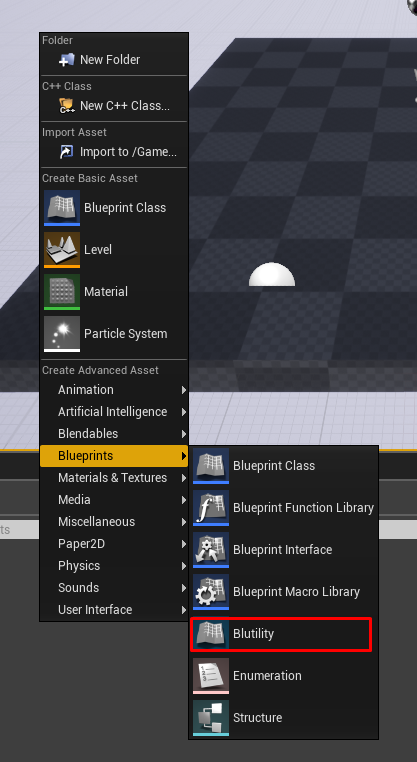
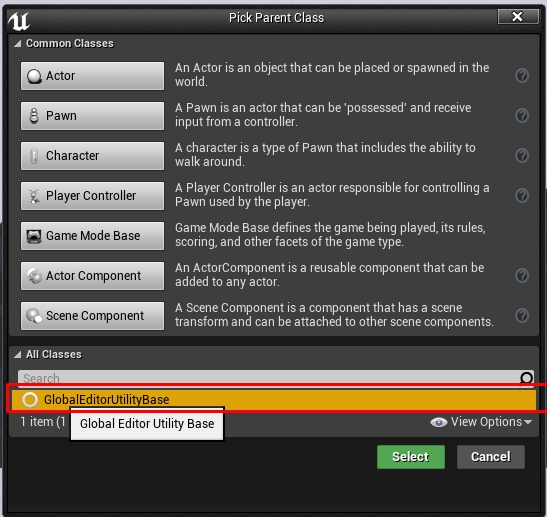
Step 3: Define action
Define the actions wanted to add to the blutility.
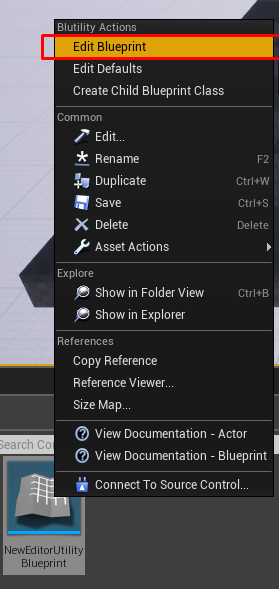
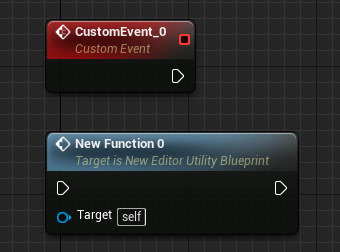
Step 4: Create a custom event or a function and activate the call in editor option
Create a custom event or a function → Activate the call in editor option
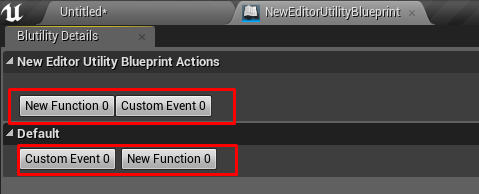
Step 5: Open the blutility window (double click in the blutility created)
Repeat blutility actions as many times as you like.
Example of use
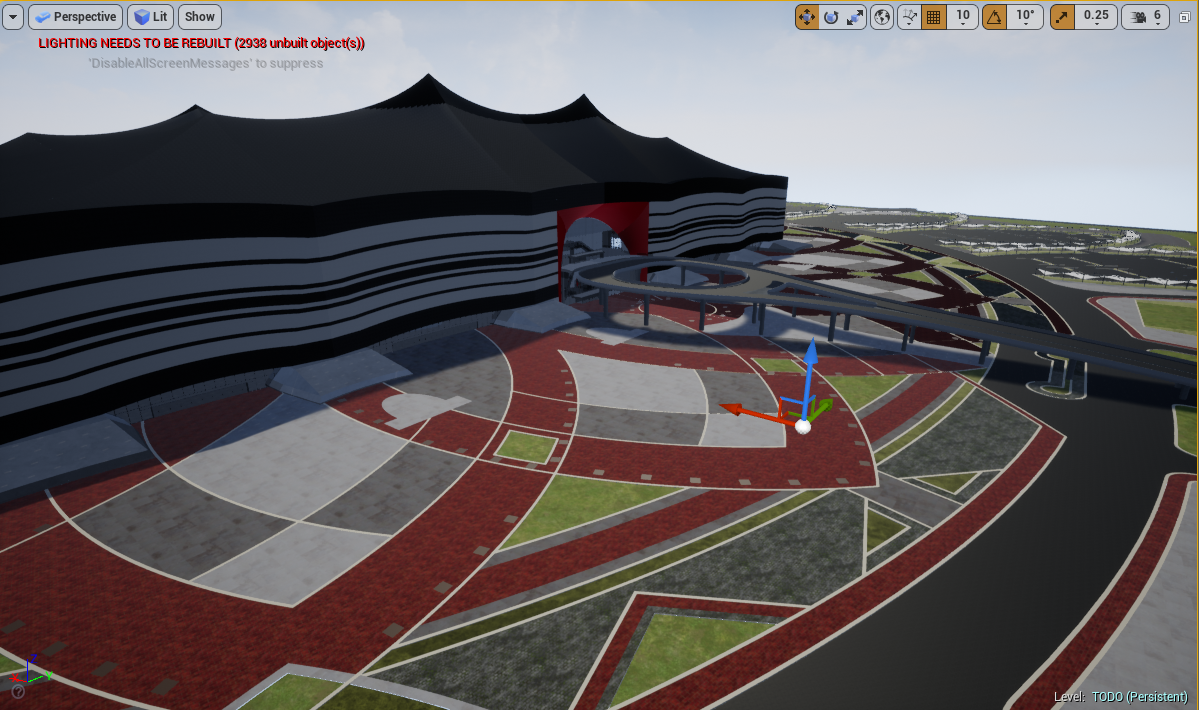
How to place 500 assets in UE without dying trying?
Before:
After:
Tricks
- If it’s needed to optimise the most the performance of the game and it’s needed to place a lot of assets, user may prefer to use hierarchical instanced static meshes instead of blutilities (user can use a blutility inside the hierarchical instanced static mesh to place instances).
- Another option that optimise the performance of the game when creating a lot of assets is using foliage. This is the best option if a precise location is not needed to create these assets.