Grasshopper best practices
Introduction
In order to have a clear organization in our Grasshopper files, that will allow an external person to understand what is done, it is convenient to set a number of good practices for its use.
We have used a function that models a parametric table as an example to follow in this guide. The parameters that can be modified in it are its general dimensions (length, width and height), the top board and legs thickness, and the distance between the axes of the legs.
Firstly, we have created a template, we have another one for Rhino 5, in which has been added Modelical´s logo and a space to add a description of the file.
Data entry parameters
The description of the file is formed by:
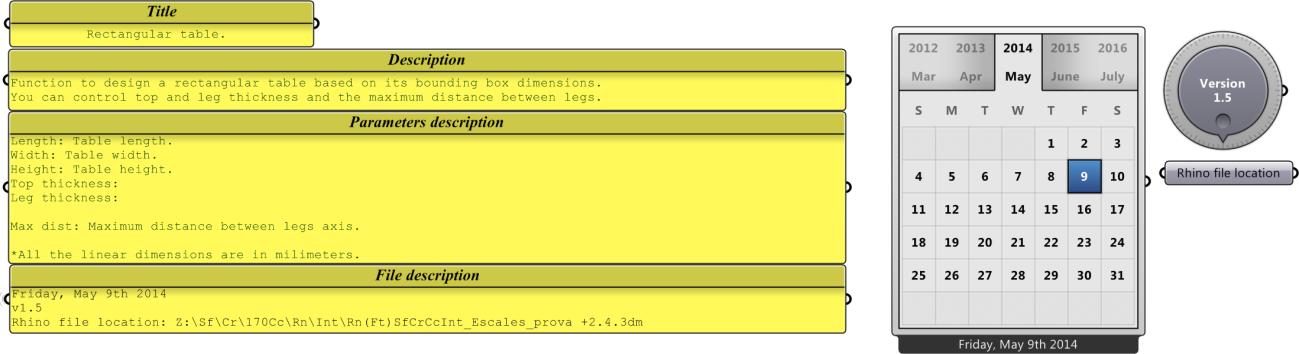
- Title – Author
- Description
- Parameters description
- File description
- Date
- Version
- Rhino file location if needed
In order to keep a well organized workspace and avoid it to become a mess of cables, we should keep the following work habits.
Data entry parameters will be placed together and in the upper left corner of the file. Due to performance reasons, if it is not needed to see the changes that a parameter produces in real time is better to set the value of this parameter it in a “PANEL” instead of in a “SLIDER”.
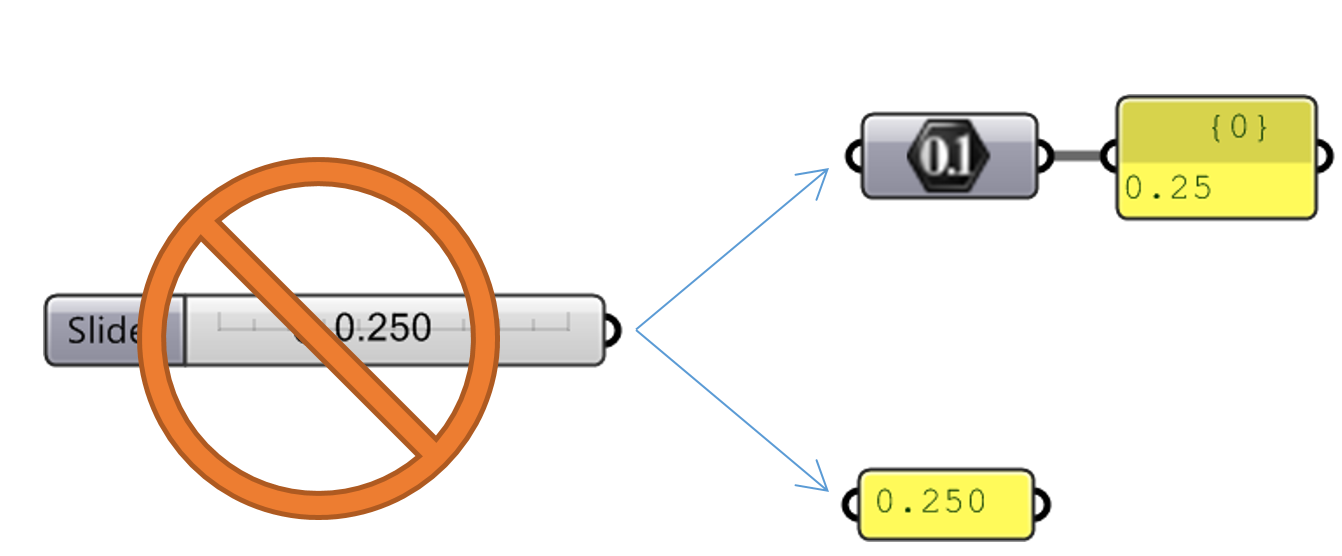
To bring the parameters information to the place where it is needed in the file, we will proceed this way:
Firstly, we will dispose the data entry component and connect it to the corresponding primitive. In the example, a “SLIDER” which name has been changed for Length is connected to the parameter “NUMBER”.

In second term, we will change the name of the component “NUMBER” for the name of the data entry component, followed by a spot and the abbreviation of the type of variable used.

- Boolean – Bool.
- Brep – Brep.
- Circle – Cir.
- Colour – Col.
- Curve – Crv.
- Domain – Dom.
- Geometry – Geo.
- Group – Grp.
- Integer – Int.
- Line – Ln.
- Mesh – Mesh.
- Number – Num.
- Plane – Pln.
- Point – Pt.
- Surface – Srf.
- Text – Txt.
- Vector – Vec.
After that, this component will be copied and pasted to its right (to avoid retyping the name), and will be connected to the one with the same name.

Finally, we will set the wire display of the last component to Hidden.

By following this simple steps, we achieve independence between the position of the data entry parameters and the place where they will be used. Each time one of this parameters is needed, it will be copied and pasted wherever it should be placed.
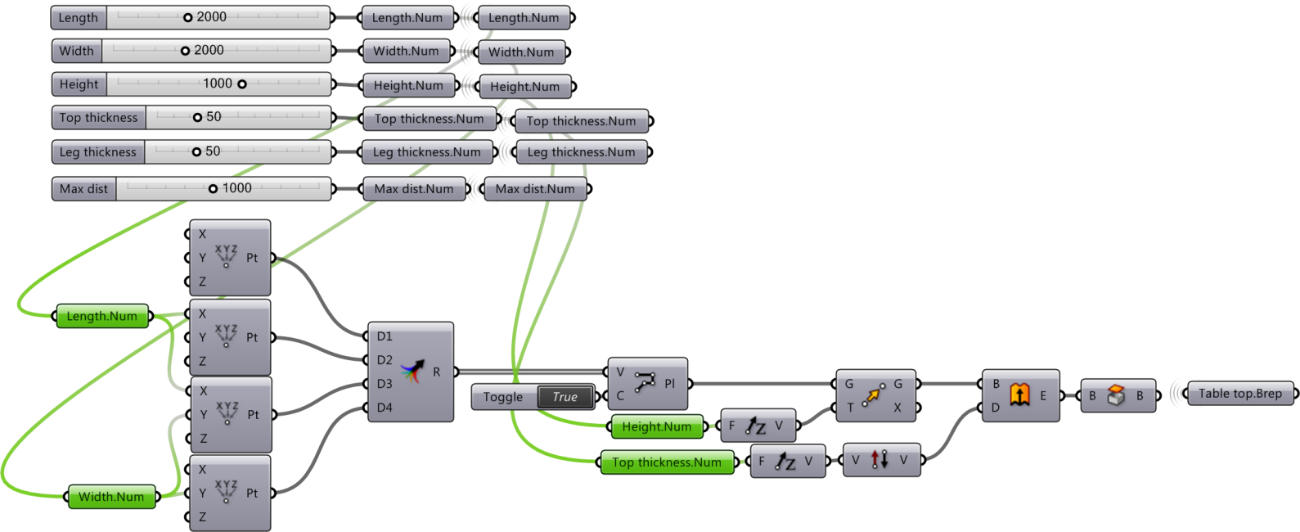
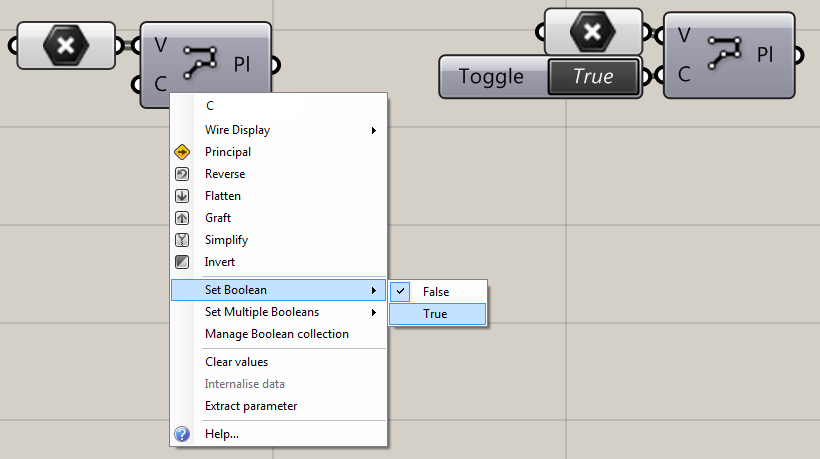
Another advantage of this method is the possibility of modifying the initial parameter and this change will spread throughout the function automatically. For example, if at some point we decide that the width of the table must be half of the length, we can act in a single place as shown below:
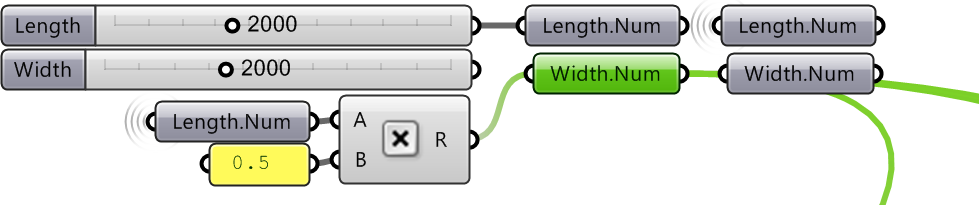
When possible, is better not to set the data directly in the “INPUTS”, but through other components. It will help external people to understand the function.
Other recommendations
Another good practice is grouping functions in information packages. In the example, four groups have been developed:
- Table top.
- Table leg.
- Number of legs in Length direction.
- Legs location.
The procedure to group components consists in selecting all the components we want to group and then press CTRL+G, or click on the icon shown in the picture.
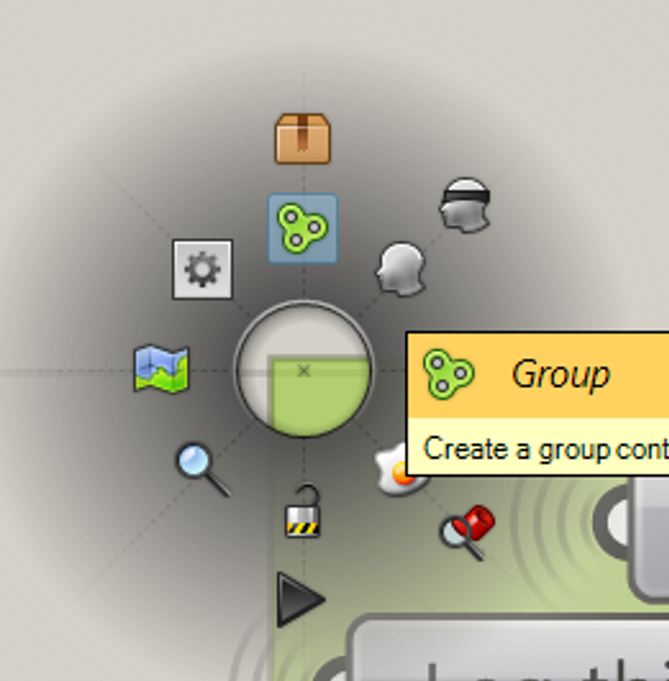
The colour and the name of a group can be changed by right-clicking on it.
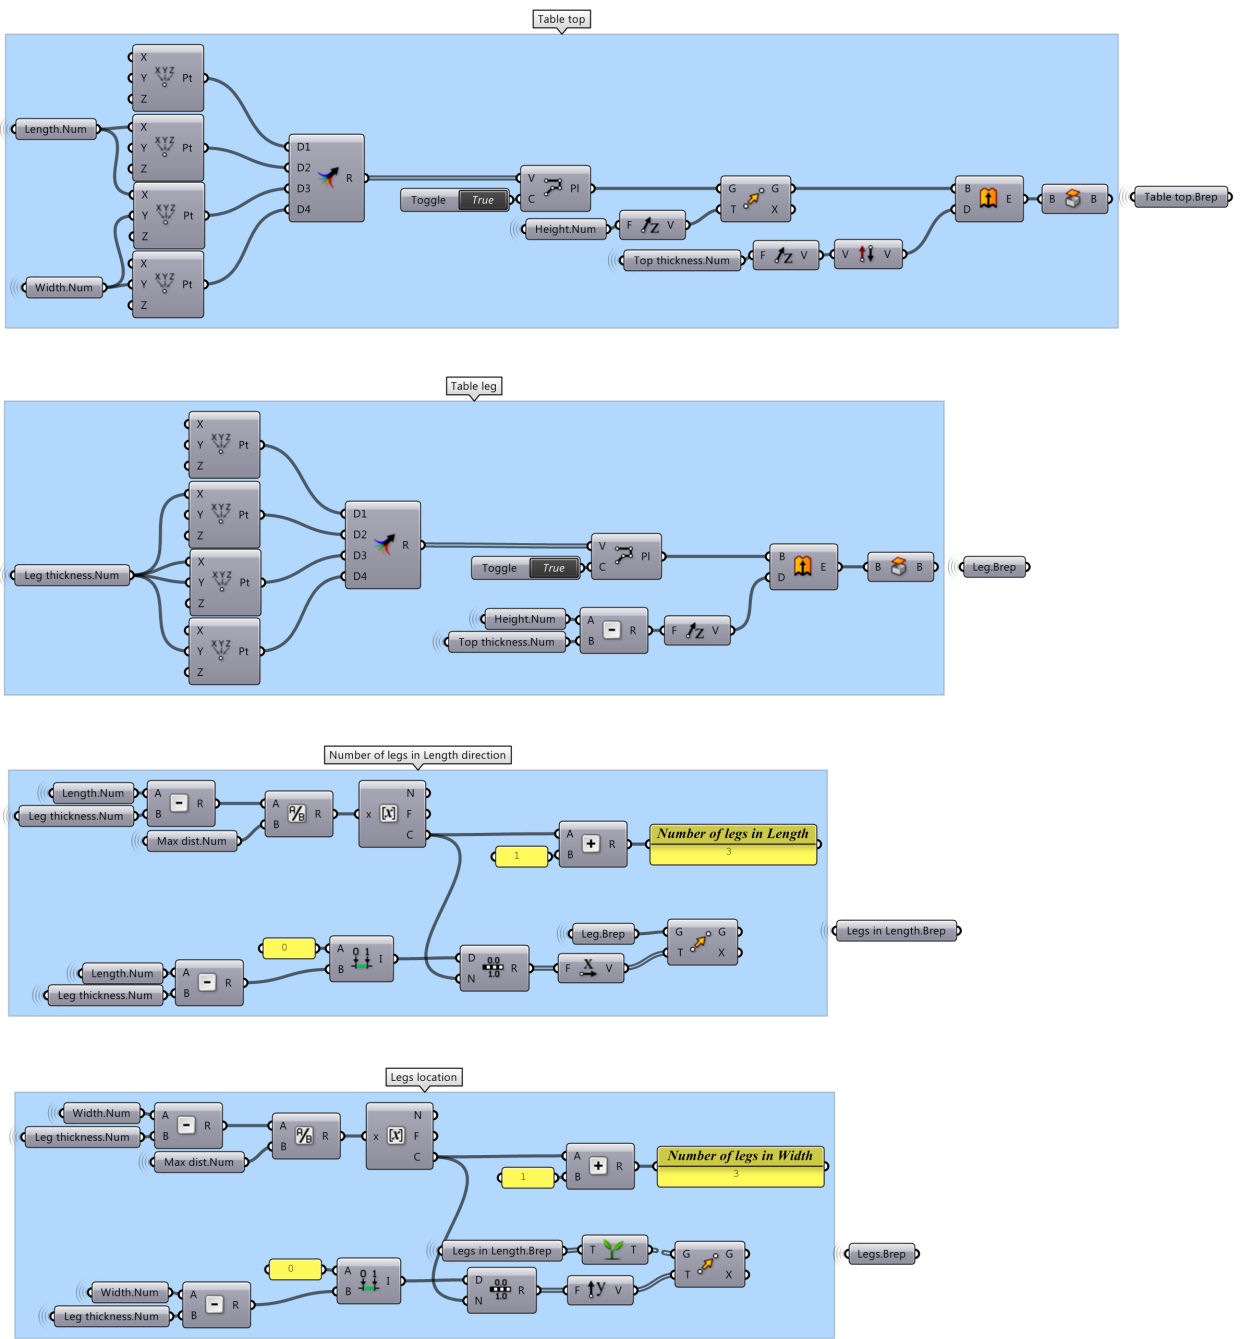
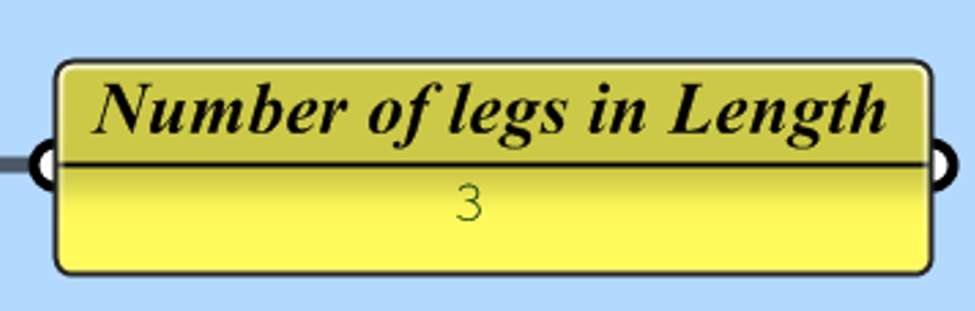
It is also convenient highlighting the results got after some nodes to make it easier to understand, as in the example, where the number of legs in both sides is obtained. This can be done by using panels, which can be also modified in its name and colour as desired.
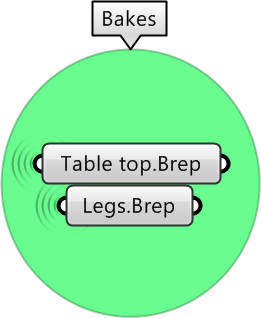
Finally, output components have been grouped to transfer its geometry to Rhino with the order “Bake”.
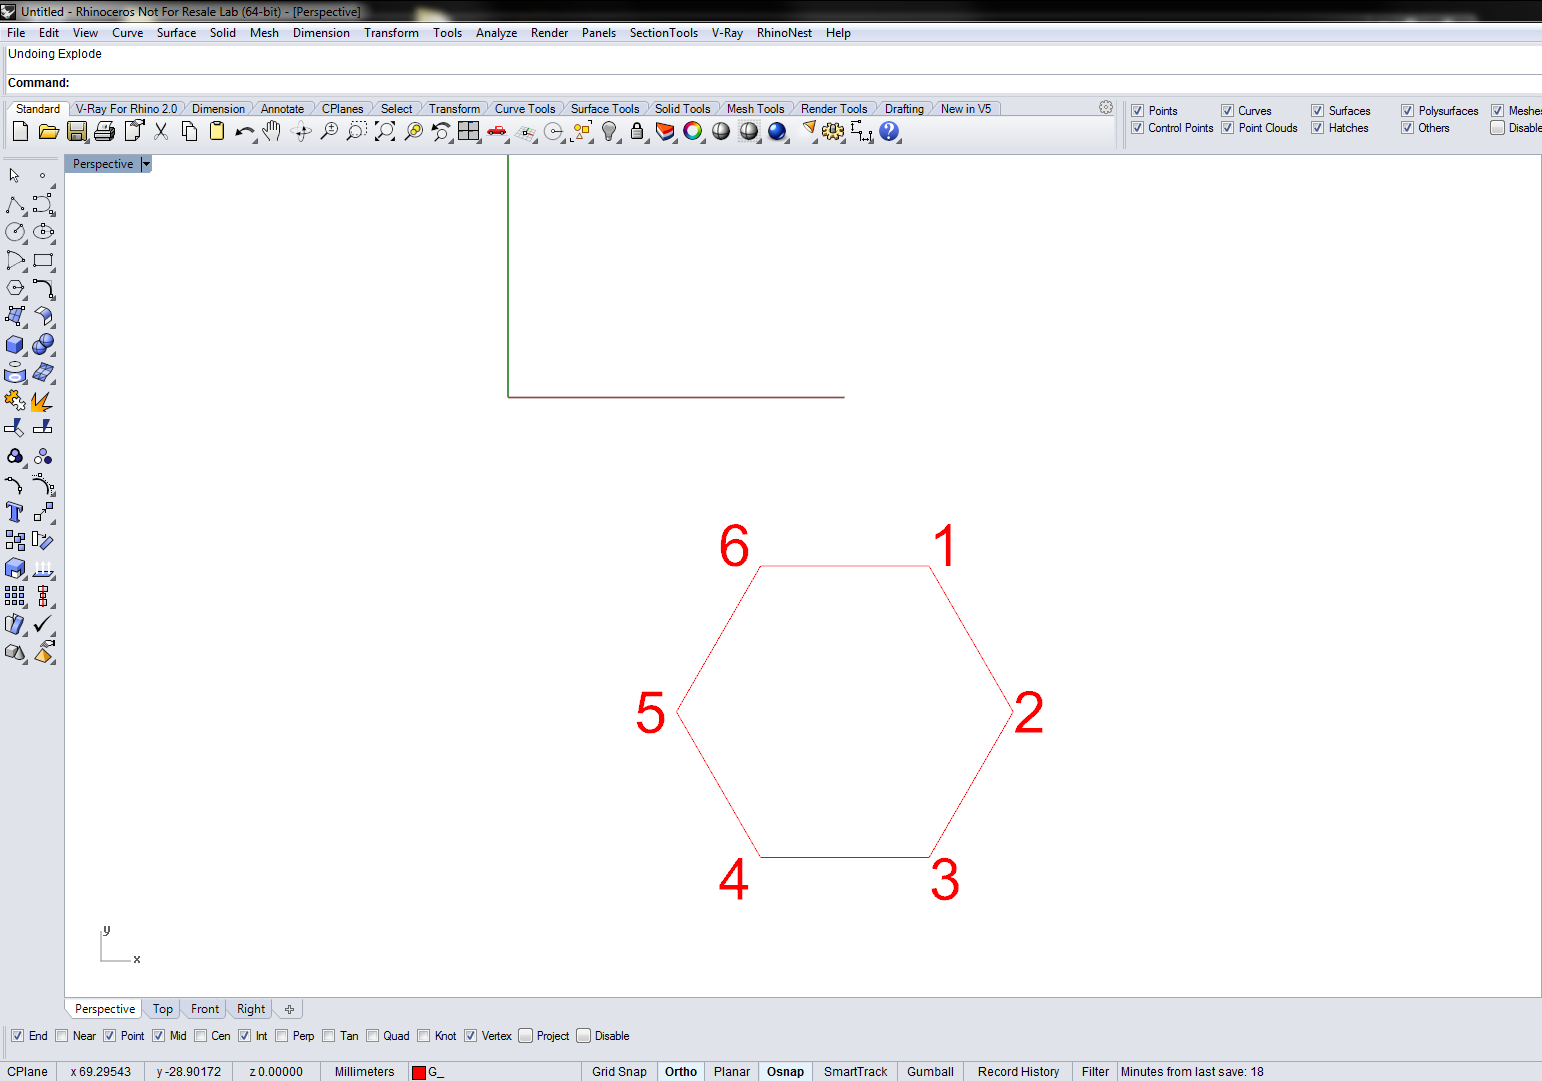
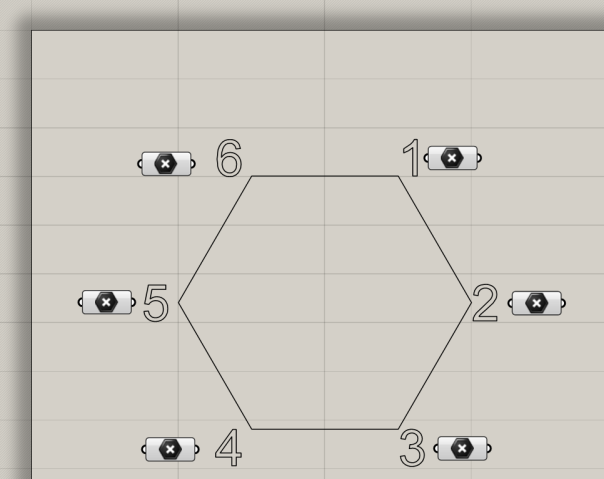
When it is needed to establish an order to some elements depending of its geometrical position, a good practice will be doing a sketch in the Grasshopper workspace. For instance, if we want to get individually the vertices of an hexagon and we want to help an external person to identify them, we could do what follows:
- Draw the geometry in Rhino, taking in consideration that the dimensions of the grid used in Grasshopper are 15×5 units, and the upper left point of the workspace corresponds to the 0,0,0 in Rhino.

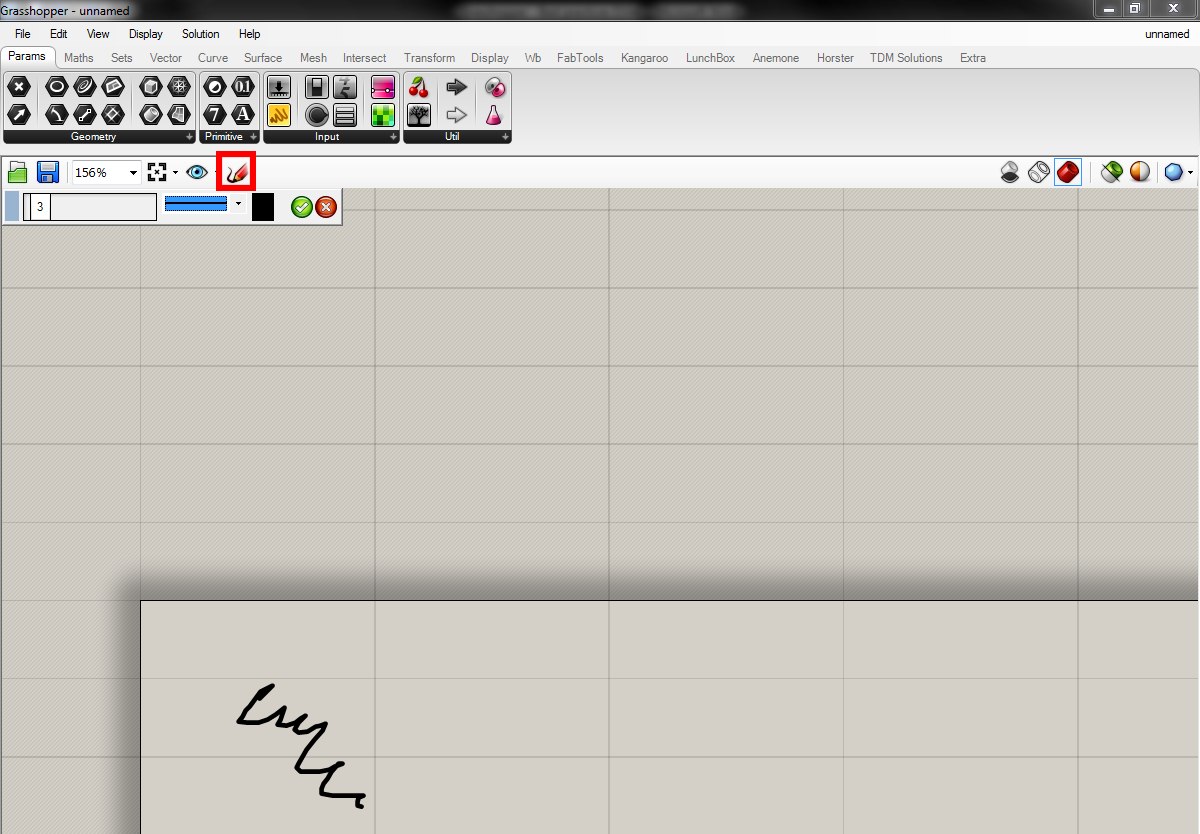
- Draw a scribble with “Sketch Object” in Grasshopper.

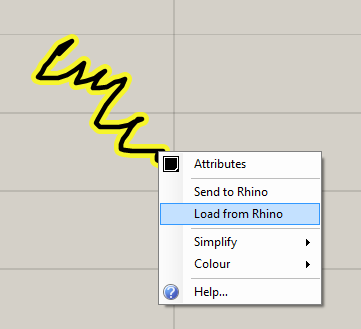
- Right-click on the scribble and select “Load from Rhino”.

- Modify its colour and thickness if necessary and it is ready to continue working.